-
- Books. Books. Books., CAL (Crochet Along), Craft Tutorial, Crochet, Free Pattern, Published Books, Tales of Whimsy, Wishweaver Wednesday, YouTube Amigurumi How-To Video
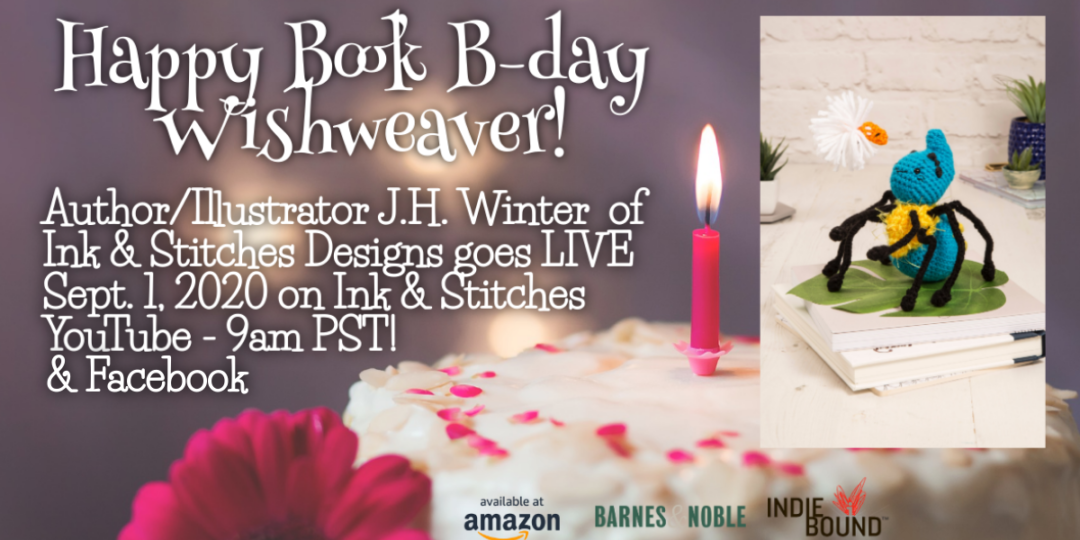
Light the Candles & Make a Wish… Whimsy’s first tale is here + FREE Amigurumi Pattern for Whimsy & Flit!
Happy Book B-day Wishweaver! Let’s Celebrate!
I’m going LIVE this morning (9/1) on Ink & Stitches YouTube and my Facebook Author Page at 9am PST. I’ll be chatting, answering questions about writing, illustrating, and crocheting, and giving away the Wishweaver Grand Prize Giveaway Bundle! I hope you’ll stop by and join in the fun!
-
Even More Videos on Ink & Stitches YouTube!
Four New Videos Now Live on my Ink & Stitches YouTube Channel!
I finished up editing and posting the last four videos I had filmed to my YouTube Channel. They are ready to help you learn new techniques and stitches that can be used when making your own amigurumi patterns, or if you are working through ones you found online that include these techniques: picot stitch,
changing colors in the round (with jogging vs. jogless)
-
New Ink & Stitches How to Crochet Amigurumi Videos!
I’ve been hard at work since finishing up the illustrations for the Corgi book series (book #1). Since illustrating had taken up all of my free time for the past few months, I thought it time to get back to my
Ink & Stitches YouTube Channel
-
New Video: How to Assemble the Happy Sunflower Amigurumi
It’s been a couple of months since I’ve posted, so I thought I’d jump back in and share a new video I just put up on my Ink & Stitches YouTube Channel on: How to Assemble the Happy Sunflower Amigurumi.
Since posting the
pattern for the Happy Sunflower
-
What I am Working On : Decrease and Invisible Decrease Videos
I thought it high time to post a couple more How to Crochet Amigurumi videos on my
Ink & Stitches YouTube Channel
-
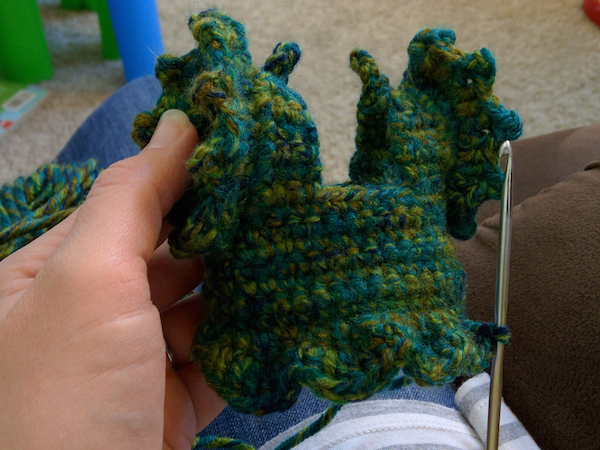
Dragon Craft Project : Fun with Kids
When this book, Fun Things to Do with Paper Cups and Plates by Kara L. Laughlin, came through the library where I work, I had to take a minute to thumb through the pages. The cover was too cute to let it slip through my fingers without a glance!
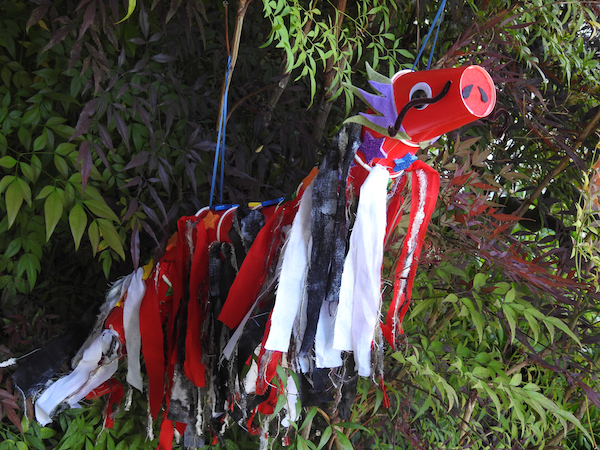
There are lots of fun crafts to do with your kids in this one, but my son is only 2 1/2 years old, so the project would have to be basic. Unfortunately, my favorite craft from the book that I just had to make, was the dragon (a bit advanced for a two year old) made with paper cups.
I had a few ideas as to how James could participate during this project, as well as some alterations and additions I planned to put in, that differed from Kara’s original design.
The first way James could help me was to pop the holes in the center-bottom of each cup. Don’t worry, I didn’t give him any sharp objects! I actually used a small meat thermometer for lack of options. I held the thermometer steady, and he pushed it down into the cups to make the holes. Let’s just say, he kept wanting more cups even though we’d already popped holes in the eleven we needed for the project. Hadn’t considered that one!
The first alteration I made was how I did the tail cup. I ended up not wanting it to be open and instead had the last two cup openings facing each other. To keep them from coming apart, I got out my trusty hot glue gun and glued them together (see my
H is for Hot Glue and Rock Sculptures
-
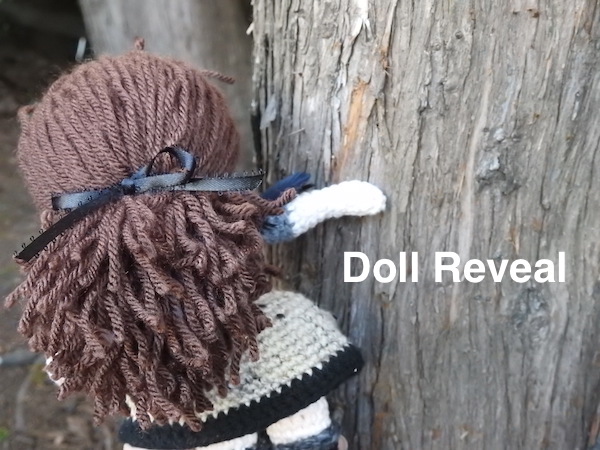
New Video: Adeline Doll Reveal!
In order to change her destiny and the barren, colorless world, ten-year-old Adeline will have to unleash the last bit of magic.
Adeline Picot, is the main protagonist from my Middle Grade Fantasy story, Adeline and the Mystic Berries.
I have talked about the book on and off, and, as you know, I am now working on re-editing the story before I continue querying to find a literary agent.
In the meantime, I couldn’t wait to begin crocheting up some of the characters from this story that is very near and dear to me. It was the first book I ever wrote, and the first time an idea struck in my head that stayed.
I had always thought being a writer would be a wonderful job to have, but prior to coming up with the idea for Adeline and the Mystic Berries, never thought I would ever have good enough ideas myself. She proved me wrong, and here we are.
My vision is to have a line of dolls from the book that other crocheters can make. I want readers who love the story, to be able to have their very own dolls from the book!
So, without further ado, here is a video I made for my
Ink & Stitches YouTube Channel
-
What I am Working On: More YouTube Videos!
This week I continued working on editing my book, Adeline and the Mystic Berries (see last week’s What I am Working On post for more on editing this story). I finished the in-line edits and have moved onto reorganizing and deleting chapters, and also writing new scenes as well. This part of the process will definitely be the most time consuming. It is also a lot of fun, to add more scenes in with my favorite characters (like, Aspen, seen above).
Aside from Adeline, I wanted to get a couple new YouTube videos up and posted to my Ink & Stitches Channel. For this week, I filmed three new videos, and have posted two so far.
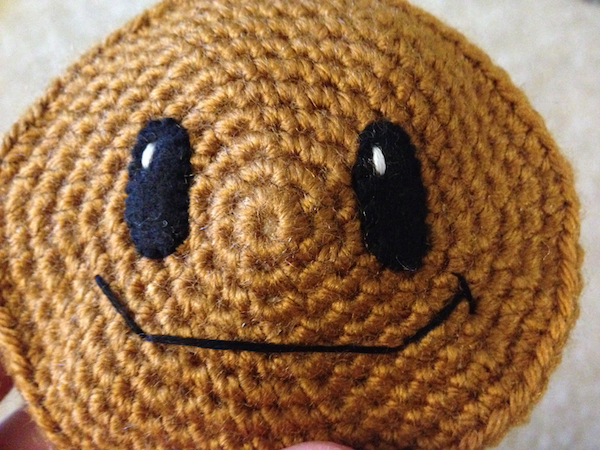
The first and second videos talk about basic embroidery stitches used most commonly when making some of the details in amigurumi patterns. I used my
Happy Sunflower pattern’s
-
A to Z Challenge: V is for Video (Ink & Stitches YouTube Channel)
It’s time. If you are here for writing advice but enjoy the posts about amigurumi and just don’t know how to make one, or if you just want to learn crochet anyway, today is the day where class begins!
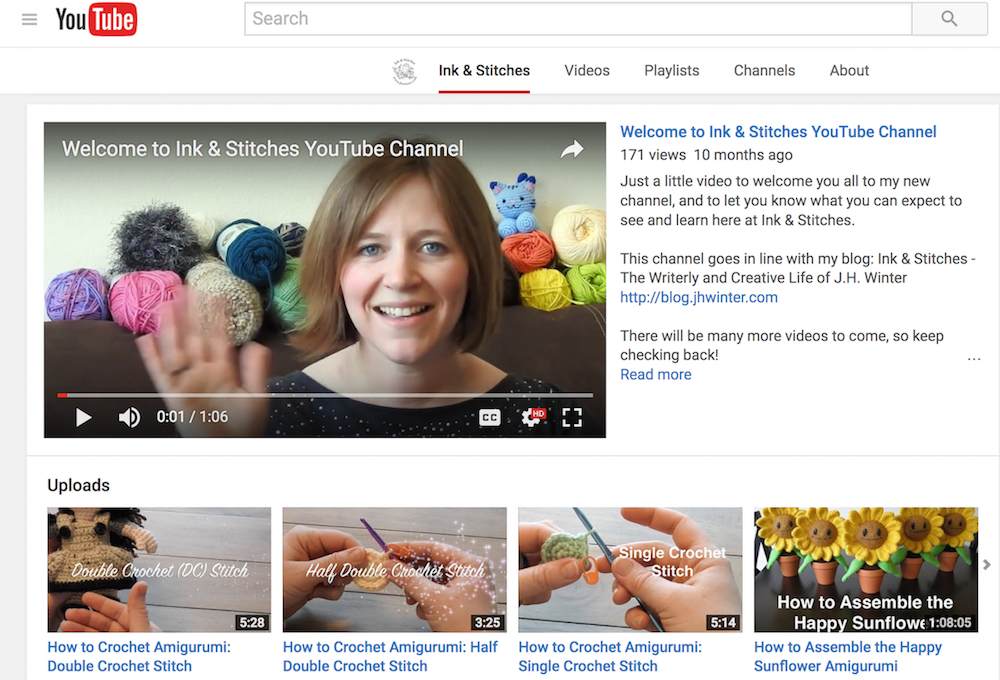
I have begun an Ink & Stitches YouTube Channel and the first few videos are now live! Here I am going to be teaching you how to crochet stitch-by-stitch. I will try not to leave anything out!
This channel will be for crocheting, but geared toward making amigurumi specifically.
Here, I will begin by going over the basic stitches used in crochet. There are two videos up to view, that talk about the Magic Ring Technique as well as the Double Magic Ring and the difference between the two. There is also one up on how to increase.
Once you understand the basics, I would like to work through a pattern with you, in a series of posts that will get you from start to finish. These will include: videos on how to assemble your amigurumi; adding any embroidery details necessary; how to finish off (FO) or bind off; and what it means when the pattern says to weave in stitches once your piece is finished or you’ve attached two pieces together. I will talk about common materials used, as well as resources to find great patterns.
Certainly, some of these videos will be my own method of doing things. This is by no means the only method to accomplish such tasks. My ways have worked for me for years though, so I think it’s safe to say, I wouldn’t steer you wrong.
Let’s begin at square one: Magic Ring technique and Double Magic Ring.
Materials Needed: yarn, stitch marker, and crochet hook (any size will work; I use size F)
Here is the Magic Ring technique to help you learn how to begin that very first round in crocheting amigurumi:
An alternative to the magic ring technique, one that gives an even tighter center circle, is called the Double Magic Ring. Here is a video from the Ink & Stitches channel to explain:
Next, we move onto round two: Increase.
Once you have finished learning how to make the magic or double magic ring (whichever you prefer), you will then begin the next round which is often to increase around. Here is a video to show you how to do just that:
I hope you found these three new videos helpful! The next videos coming down the pipeline will teach you: decrease, invisible decrease, and how to chain, join into a ring, and work single crochets into that chain (see stem piece on my
Happy Sunflower pattern
