-
-
-
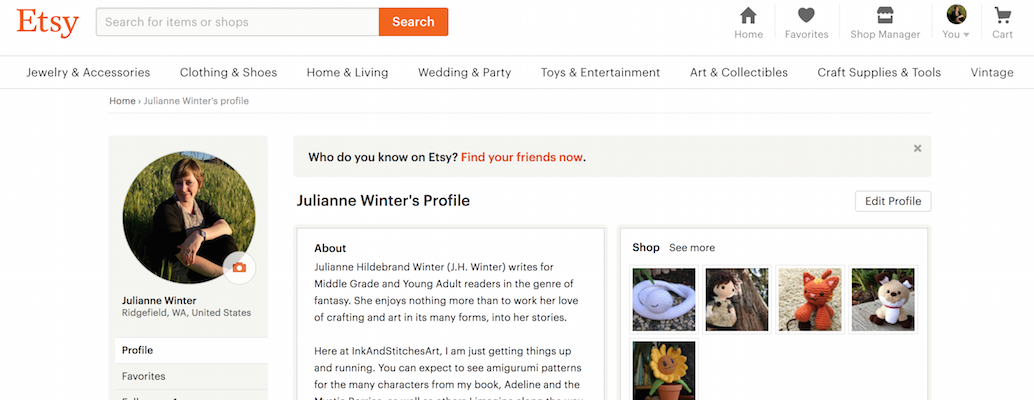
Etsy Shop Open for Business: InkAndStitchesArt!
What better time to reopen my “InkAndStitchesArt” Etsy shop than with the holidays coming up?
Can you believe the holidays are just around the corner? I can’t!
Since I’ve been toying with the idea of reopening my Etsy shop for awhile now, I thought this would be the best time to do it!
So far, I am selling some of the amigurumi that you’ve seen here as FREE PATTERNS along with a couple of others, but I want to sell the finished products for those who have no desire to learn how to crochet, or who would rather spend their time doing other things.
If you are one such person, you are not alone, and my shop has just the right items for you!
If you want to learn how to crochet, I invite you to check out my Ink & Stitches YouTube Channel; pull out your crochet hooks, yarn, and one of my
free patterns
-
Harry Potter-Themed Baby Shower! Part One
When I found out my brother was going to be a father, and in turn, make me Auntie Julianne, you can imagine how excited I was!
(Due to the fact that this post is packed with cuteness, I wanted to split it into two posts. Part One is what I did behind the scenes for the event creatively. Part Two will be pictures of the outcome of my hard work at the Harry Potter Baby Shower itself!)
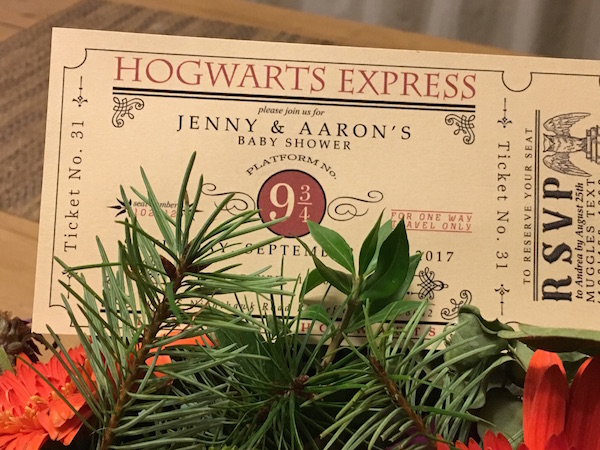
When I received my ticket to ride the Hogwarts Express to their Harry Potter-themed baby shower…well, needless to say, I felt like Ronald Weasley on Christmas morning!
My sister-in-law’s sister was organizing the shindig, and I wanted to find a way to creatively help out. It was going to be an elegant white- and gold-colored event, but no one said it couldn’t be magical too!
The very first thing I did, was go to Pinterest and create a Harry Potter board with all the DIY/creative things that we could possibly do to help make this event truly spectacular!
I decided I would be in charge of a few decorations, but more importantly, I wanted to have an “Adopt a Magical Creature” table whose inhabitants would act as game prizes for the event. Each creature would come from the Harry Potter world and would include the newest Fantastic Beasts movie.
Pinterest and YouTube were my best friends when it came to finding just the right characters to create.
Pygmy Puff: a miniature Puffskein, bred by Fred and George Weasley to sell in their shop, Weasleys’ Wizard Wheezes
-
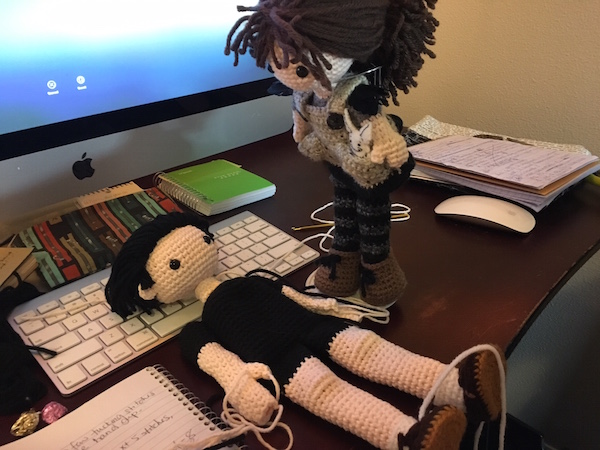
When Yarn Turns Against You – A Timothy Doll Update
Not all yarns are good…
Perhaps it’s just an issue with certain dye lot numbers, or perhaps just certain colors are the problem, but I have a little story to tell you about what happened when I used the Lily Sugar ‘n Cream brand of cotton yarn in the color black.
It is a sad, sad story. You’ve been warned…
If you follow me on Instagram, Facebook, or Twitter, you know that I’ve been hard at work crocheting a new character doll from my
Adeline and the Mystic Berries
-
Even More Videos on Ink & Stitches YouTube!
Four New Videos Now Live on my Ink & Stitches YouTube Channel!
I finished up editing and posting the last four videos I had filmed to my YouTube Channel. They are ready to help you learn new techniques and stitches that can be used when making your own amigurumi patterns, or if you are working through ones you found online that include these techniques: picot stitch,
changing colors in the round (with jogging vs. jogless)
-
Making Amigurumi Patterns (Part Two)
How to Crochet Amigurumi from the Ground Up
I’ve been creating my own amigurumi patterns for almost seven years now, ever since I realized that amigurumi are made by knowing how to make shapes. Using decreases and increases to your advantage there is almost nothing that can’t be converted into a crocheted character. Deciding when special embroidery stitching would add some nice flare, finishes off each piece making it look professional and as true to life as possible.
In Part One of this making patterns series, I explained the ideas behind making a circle shape as well as a flattened triangle which you see often for animal ears.
For this post I’d like to talk about creating tubes and what they’re used for, as well as how to make teardrop shapes (often used for arms and legs).
Creating Tubes:
In order to create a tube, first you need to make a chain. Depending on how wide you need the tube to be, will determine how many chain stitches to begin with. For example, in my Happy Sunflower pattern (click the link to get the free pattern), the stem begins with 6 chain stitches joined together to form a ring to which single crochets are worked in the round to create the tube.
Sunflower Stem Pattern Instructions to Make a Tube:
- R1:ch6 (leaving tail), sl st in 1st ch to make circle, place stitch marker, sc around – 6
- R2 – 17:sc around – 6
sl st, FO, leave tail for sewing.
Ink & Stitches Video of How to Start Making a Tube:
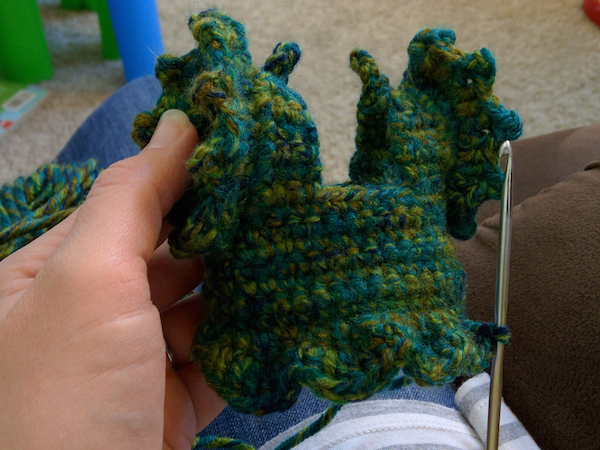
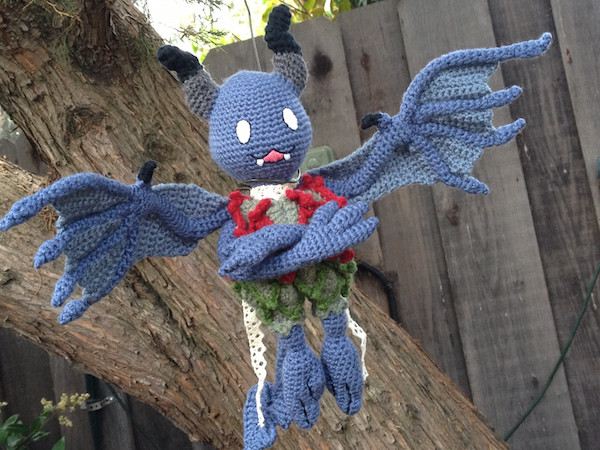
I used this technique not only on the stem of my Happy Sunflower, but also for the bat wings in my Veddel pattern. The upper wing is the only part with wiring, but creating a tube was essential to being able to fit the wiring into the piece in order for the wing to be posable. You’ll see tubes created to make legs and arms where often the arm is a tube and a separate piece is made for the hand or foot. They are a wonderful shape to make for allowing wiring to fit through, so you will find them used in crafting amigurumi often.
Teardrop Shape:
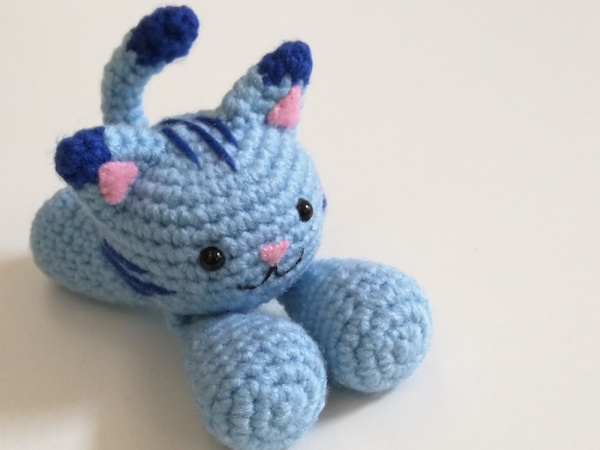
The teardrop shape, you will often see used for arms and legs of characters that don’t need defined fingers. Rather than decreasing to create a point at the top of the teardrop shape (for an arm it’s where the shoulder would be attached to the body), the shape ends while the top is still flat across. It would be very difficult to sew a point down to the body of an amigurumi and is much easier to sew down when the top is straight across. In order to make the top circle a straight line, the piece is just flattened together. Often you may want to crochet both sides together to create one solid line instead of having a circle, which helps to make the arms or legs even more floppy. I used this technique to make the arms and legs of my Floppy Cat pattern (click the link for the pattern).
To begin a teardrop shape, you build up the increase rows just as you would for a circle shape (see post on
Making Patterns Part One
-
Making Mistakes – Crocheting Amigurumi
One of the excellent blog post ideas I received during my giveaway for April’s A to Z Challenge, was a question as to whether or not seasoned crocheters still make mistakes like we did when we were beginners. The answer to this is, yes… or at least, I do anyway. I can’t speak for all crocheters, but especially when I am creating new patterns, I make mistakes often.
If I am building up a piece for a new character I’m creating, and I notice it isn’t quite the shape that I’m looking for, I rip out the rows where I went wrong and start again.
I once showed this picture on a post about Making Patterns, of what pattern writing really looks like. As you can see, it is a mess of chicken scratch, cross-outs, and redos. It can be such a mess, that barely any white room is left on the page! There are even rows of the pattern climbing up the sides of the notebook and wrapping around in an attempt to squeeze them in.
Sometimes, I don’t realize when I’m working on a new piece that it isn’t going to work. I work the entire section up only to find that it won’t fit with the rest of the character. Too big. Too small. The shape isn’t quite right. All of these errors happen often on the road to making each piece perfect.
In the Adeline doll I recently made, I started making her a colorful dress, and after completing the top portion of the dress, found that I could barely get her squeezed into it! My goal was that other crocheters who would eventually be making my pattern, would be able to make Adeline a variety of outfits. The only problem was, if putting on the dress was like putting on leggings that are too tight, no one would want to change her outfit in the first place!
In this circumstance, I would junk the dress but keep the concept. All I needed to do was start with a larger chain in the beginning and likewise, make the rest of the pattern sized up a few stitches and it should slide up perfectly (the dress slips over her, feet first).
The second time around, I changed a few things here and there, and the slight size increase was enough to make the dress fit my Adeline doll perfectly. I’ll be showing pictures of this later on.
For another of my story’s characters, Timothy, I needed to make his trademark loafers. I wanted them to be slightly larger than Adeline’s boots. He is supposed to be a bit taller than her after all, so likewise, the shoes should be too.
I made the mistake of not decreasing when I was working in the back loops only (where I would begin to build the shoe upward), and the result was a blob of a shoe that was too rounded. I also should have worked the increases at the start so that the toe of the shoe was opposite my stitch marker. Instead, I worked the increases at the toe around to either side of the stitch marker, which meant that the color change was at the front and the areas where I would work in back loops only (leaving the front stitches visible), would have a break in the line at the front as well. This simply wouldn’t work.
Keeping the pattern, but making the adjustments so the toes were opposite the stitch marker, and I begin decreasing at an earlier point, left me with a more defined loafer. Loafers have some sharper angles and I wanted his shoes to mirror this look.
Just about every piece that I make when creating new patterns, takes me at least a couple of tries. I have grown very accustomed to ripping out rows, and I’m okay with that. It’s the same when I am drawing a new illustration. I have my eraser handy at all times and often what I start with, isn’t what I end up with when the illustration is finished (see
Illustration Techniques: What Do you See
-
New Video: How to Assemble the Happy Sunflower Amigurumi
It’s been a couple of months since I’ve posted, so I thought I’d jump back in and share a new video I just put up on my Ink & Stitches YouTube Channel on: How to Assemble the Happy Sunflower Amigurumi.
Since posting the
pattern for the Happy Sunflower
-
