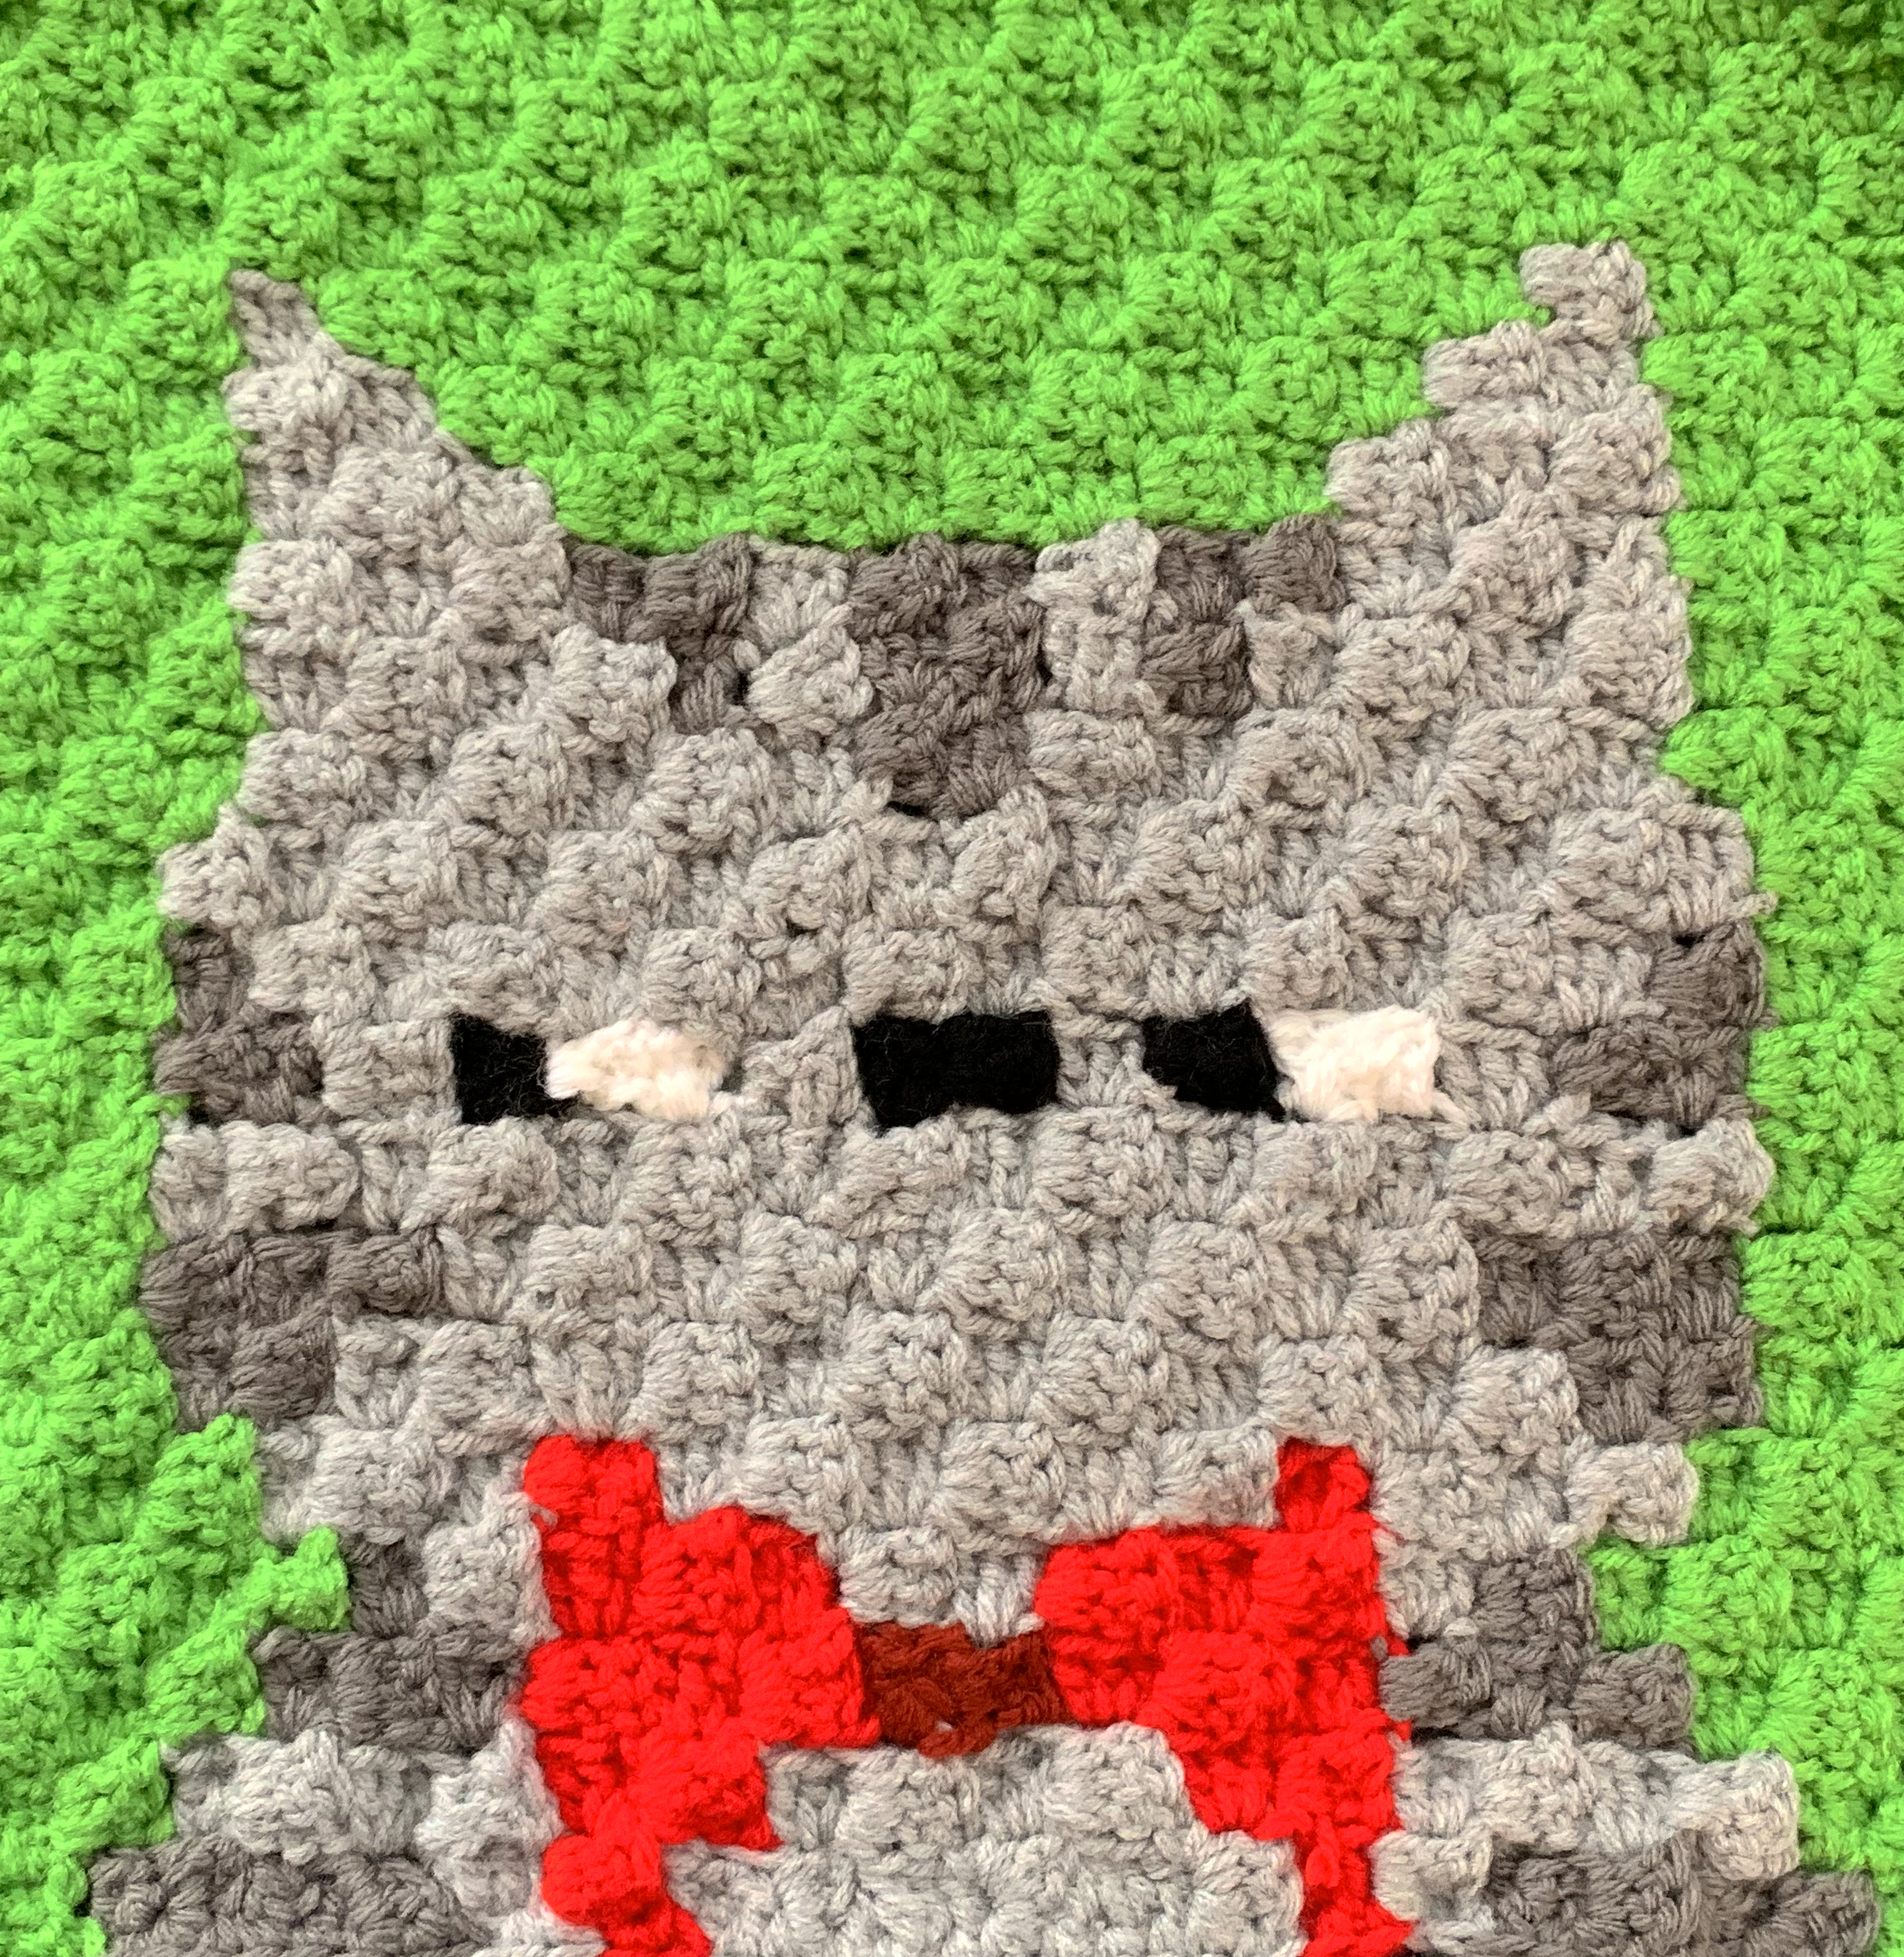
DOGGHAN CAL – Week #19 – Blocking and Assembling our Dogghan!
Are we at the assembly part of the Dogghan already? Where has the time gone?
It’s been wonderful seeing all of your pup squares and rectangles, and even finished blankets from those of you who purchased the full pattern ahead of time over on Ravelry or Etsy.
For those of you who have enjoyed working on the Catghan and Dogghan with me, I will be having a 3rd crochet along starting (hopefully) later this year called the Wishghan! In celebration of the release of my children’s book Wishweaver from the Tales of Whimsy series, I thought what fun it would be to create a blanket that tells a story of the first book in every square/rectangle. I talk a bit more about it in this video of my Book Launch where I went LIVE and got to chat with many of you. Have a listen while you crochet. We had lots of fun!
You may have noticed the Buy me a Coffee! button in the right hand menu. I’ve setup an Ink & Stitches account with Ko-Fi to allow anyone who’d like to support Ink & Stitches, to simply buy me a coffee! It’s easy to do, hugely appreciated, and just a fun way to help support future crochet alongs here on Ink & Stitches!
There will certainly be more to come!
Let’s get back to business!
If you haven’t already, now is the time to crochet a single crochet border around each square to make it easier to attach them all together!
Borders Around Each Square/Rectangle
You have two choices here:
- You could use just the background color of each square in order to create the border.
- You can try to match whatever colors are hitting the edge of the square doing color changes along the way.
Option #2 is the one that I chose to do because it gives a cleaner look, but I won’t lie… it will take you longer since you are adding color changes into the mix. That is why, I leave this entirely up to you!

The way you will want to crochet the border is to start in the side of one of the squares, preferably where you will have a long chunk of one color. Grab your size H hook that you used to make each square and your yarn, and begin with a slipknot on your hook.
- (Sc in each pixel square side, Sc in space between pixels) around the straight edges. For the corner pixel squares, you want to do 2sc on one side of square and Sc in the other side of the square for a total of 3sc in the corner squares.
I show this technique at the end of the Dogghan Week 1 and 2 videos on Ink & Stitches YouTube. Here’s the link to Cup o’ Chihuahua Tea. Fast forward to the end of the video:
Time to Block!
If you’ve never blocked your crocheted work before, it’s incredibly easy! Just time consuming.
At this point, you should have the crocheted border around each square. I have a handy dandy block of wood with nail holes drilled in every inch or so. I’ve seen others use foam mats thick enough to hold pins.

- Wet the front and back of your square with a squirt bottle.

2. Stretch squares to be roughly the size of your biggest square. For mine, this meant a 12”x12” square block. Rectangles will just increase on one of the sides x2 and x3 for the Great Dane. For mine, this meant some were blocked 12”x24” and the GD was 12”x36”.

3. Pin in place to a wooden or foam board (or anything that you have that could hold pins to pin your work in place). For my type of board, I just slipped the outer Sc edge onto the pins that were already pushed into the board. Use as many pins as you need so that your work stays straight edged.

4. Allow to dry completely at stretched width.
5. Repeat with all squares.

Connecting the Squares/Rectangles!
Here is a video crocheting the squares and rectangles together. The full written instructions with pictures is also below:
1. Lay them out in the order that’d you feel looks the best with the colors you’ve chosen. I like to make sure I don’t have two squares with the same background color or two dogs with the same coloring next to each other.

2. Begin with the longest straight lines. For example, mine in the image below would be from the Border Collie to the Shih Tzu as I work the lines from right to left so that the stitches are facing the correct direction.

3. Place a slipknot on your hook of the color yarn you’ve chosen as your joining color. I chose white but I’ve had other pattern testers go with black and other colors too for an equally brilliant blanket finish!

4. Pinch together the two squares on the upper right hand side of your blanket. In my case, as you can see, that would be the Border Collie and Afghan Hound rectangles.
5. Find the corner most edge stitches on either square and working through the right side of the bottom square and the wrong side through to the right side of the upper square, you will do a single crochet (sc) across to connect (see image below).

6. Grab your next rectangle and line it up.

7. Continue on with the same strand of white yarn (or whichever color you chose to connect with) and grab the corner-most sc edges of the Standard Poodle (or whatever the next square or rectangle is that you chose) and continue on with the Border Collie as shown in the image below.

8. Sc across.
9. Continue with the remainder of the row until you’ve finished your first connecting line. Fasten off.
10. Get your next row lined up.
11. Slipknot on hook. Sc across starting with the Border Collie and Dachshund rectangles and ending with the Great Dane and German Shepherd.

12. Continue working connecting lines, starting with the longest lines (running from one side of the blanket to the other), and working your way through to the shortest of the joins (one square edge in length). My particular design of dog placement ended up with 11 lines and 22 ends to tie in.
13. All the joins are now complete!!!
14. Tie in the loose ends. FYI: the bed below is a king size bed. You can always make the blanket wider than it is high (i.e. landscape instead of portrait style). With the border added, it should fit as a top cover blanket!

That’s it for this week. Now that all of the pups are connected, we’ll have one more week together where we will be finishing off the blanket making the border! I’m so excited to see all you’ve done these past few months. Don’t forget to tag me @jhwinterauthor on social media and use the hashtag for this crochet along:
#DogghanCAL2020


You May Also Like
CATGHAN CAL – WEEK #5 – Glasses + BIG ANNOUNCEMENT!
WISHGHAN CAL – Week #8 Lady Porcupine