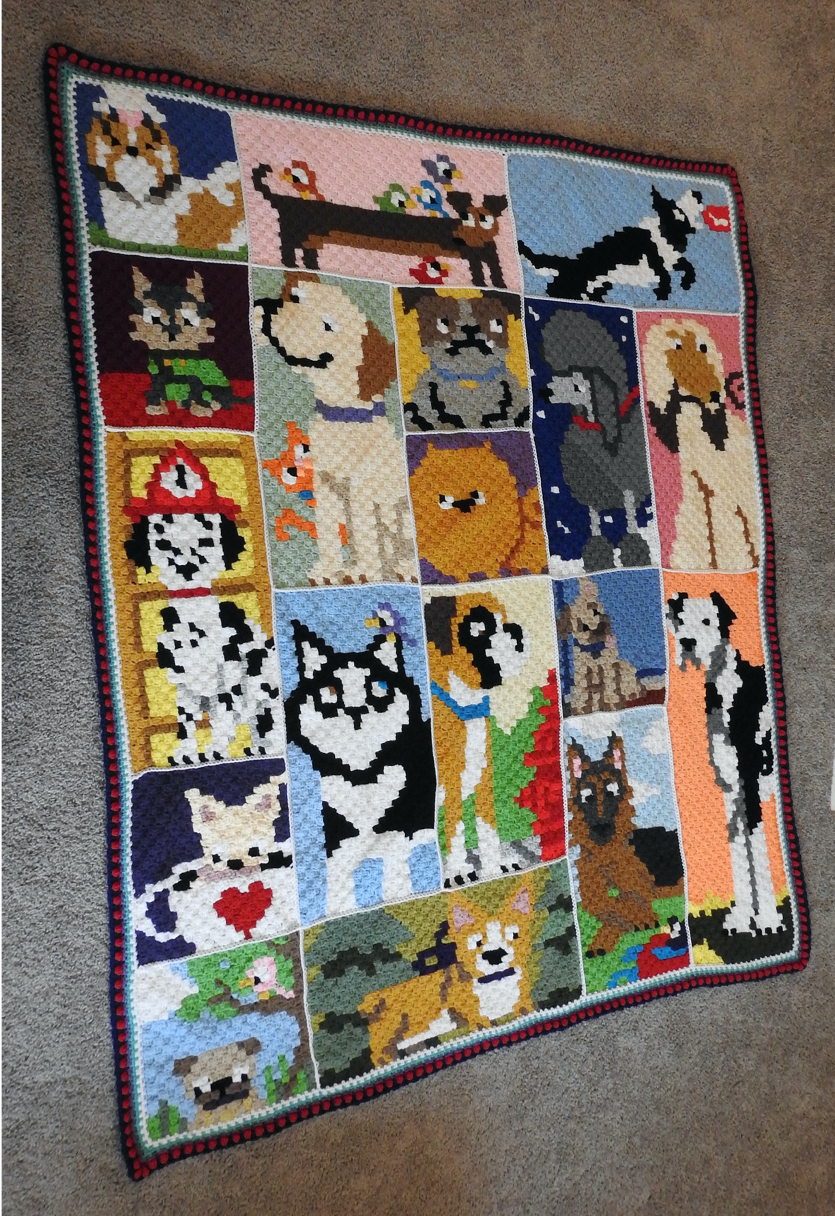
DOGGHAN – Week #20 – Finishing Our Dogghans!
This is it! The end of another C2C Crochet Along together!
We’ve spent 5 months together working through this one, and my goodness has it been an interesting 5 months! While the world around us stays safe by staying apart, we’ve managed to band together with our crochet hooks in hand.
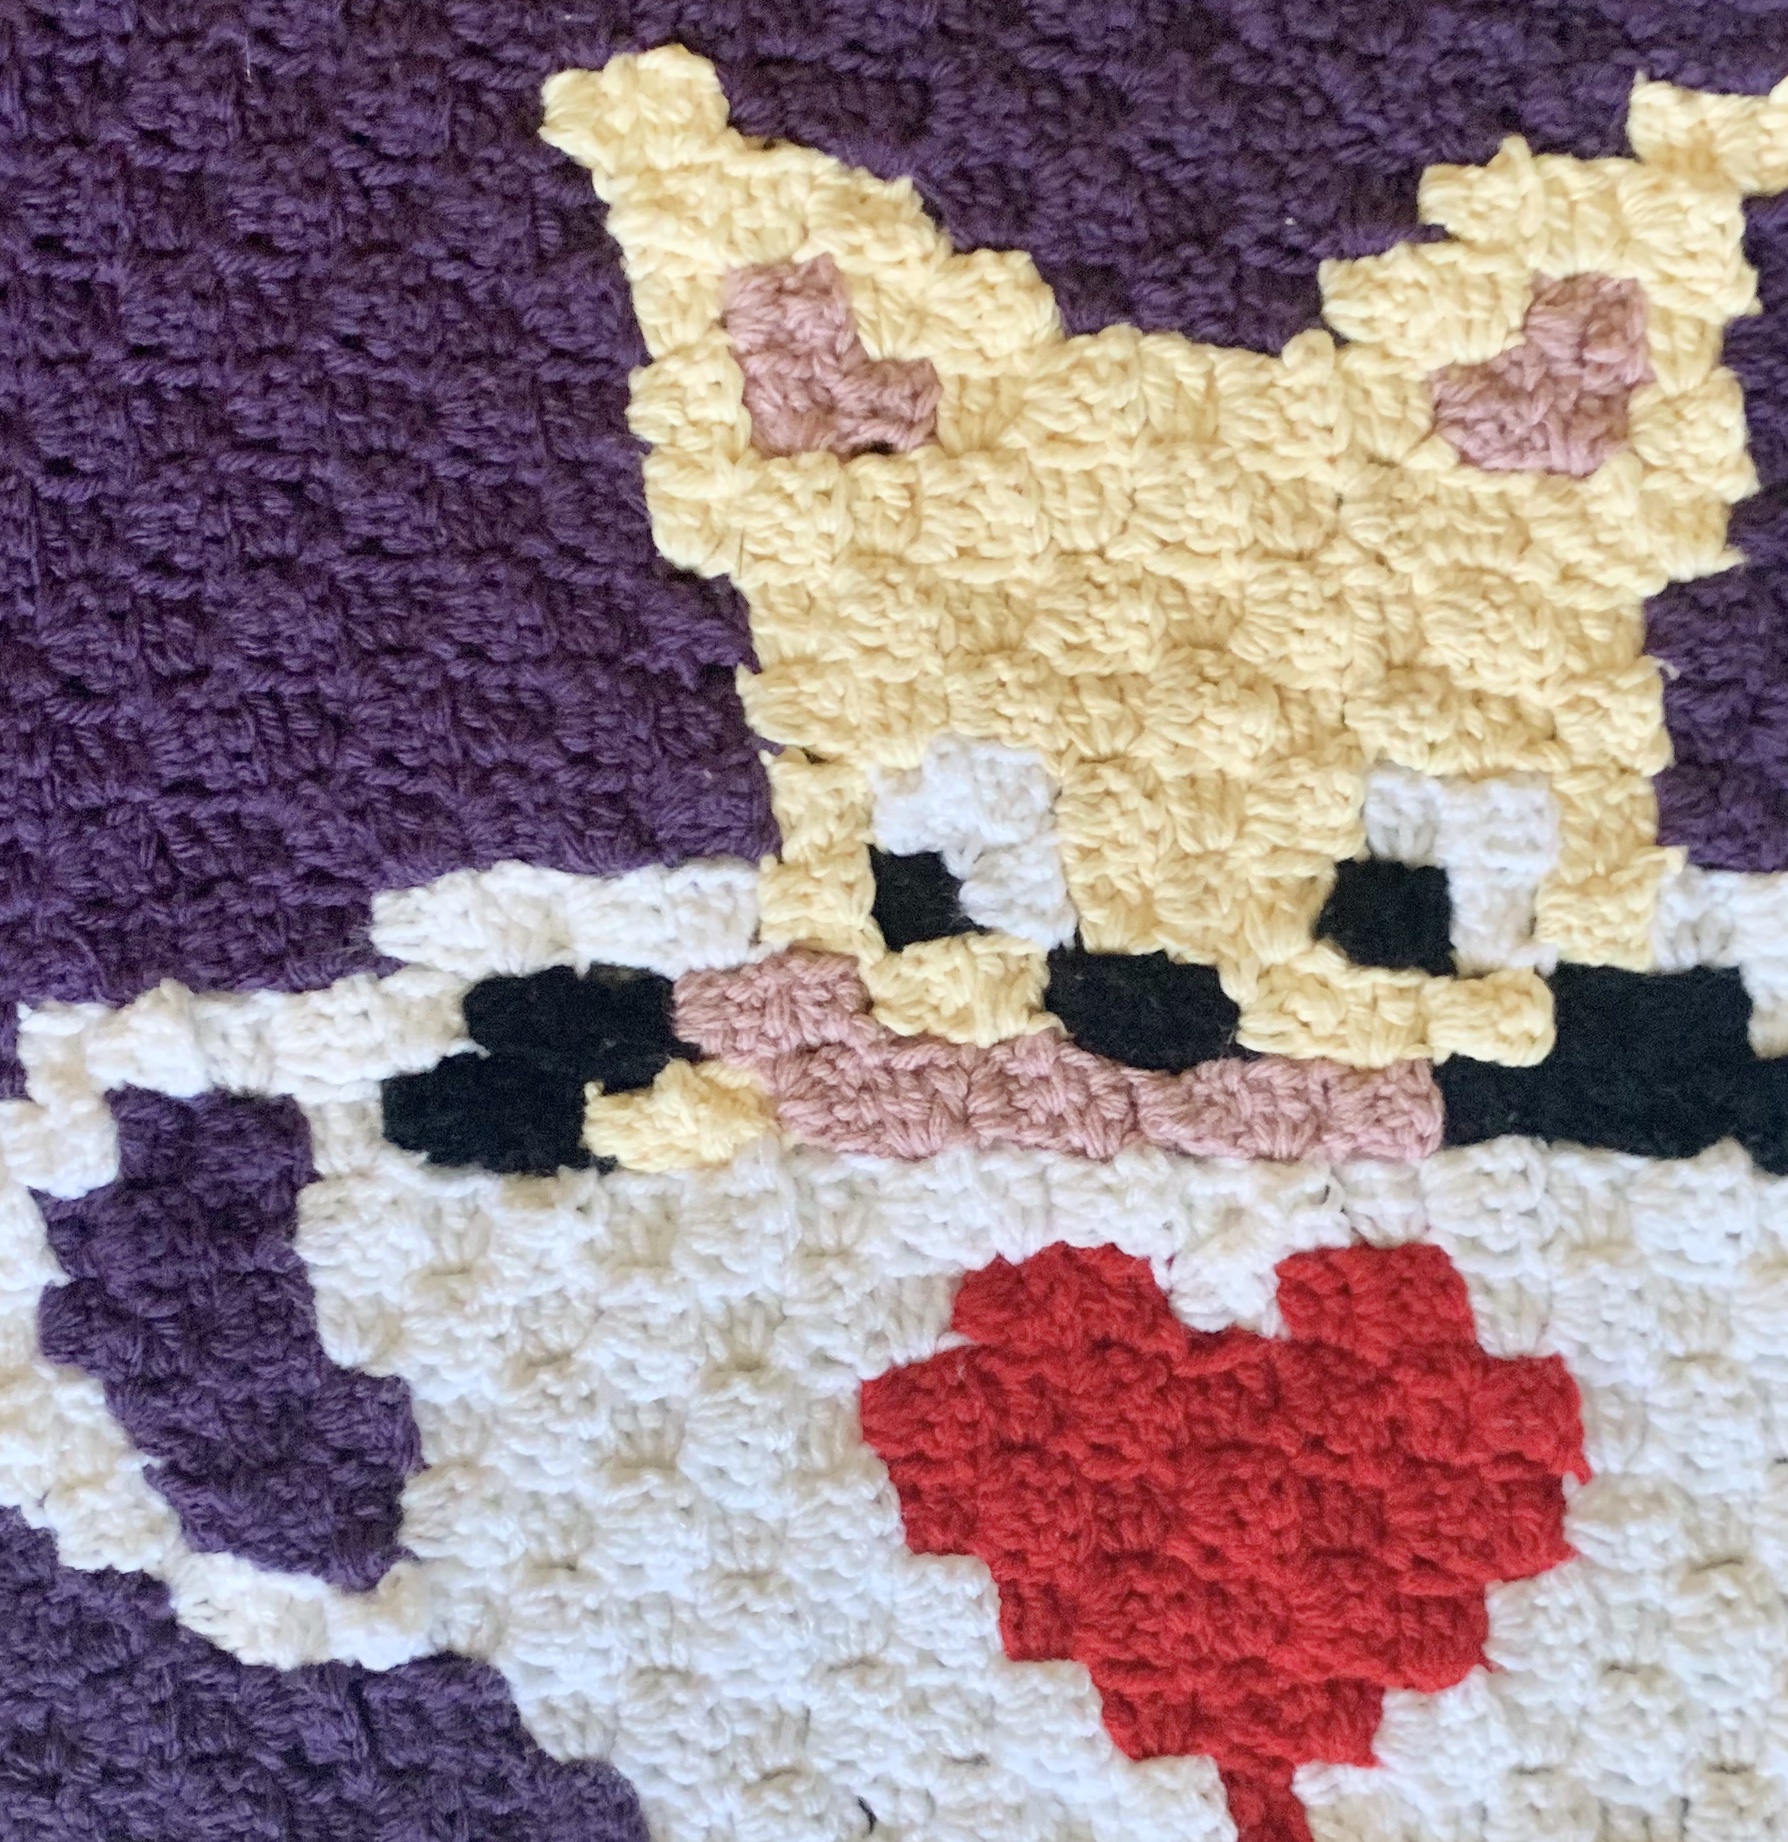
We’ve made all the squares and rectangles, tied in the loose ends, blocked and single crocheted them all together. Now it’s time to finish our blanket by making the final outer border to tie everything together!
Make your Border!

For the border we will be using the Moss Stitch and then the Polka Dot Stitch, along with a size K crochet hook.
What I would suggest is to start on a random side edge (not a corner) with a slipknot on your size K hook. You want to up the hook size now or you will end up having the corners puckering in weird ways instead of lying flat.
You are going to want to have white yarn (or whatever color you connected the squares with), as well as five other colors. I used a teal, lavender, magenta, red, and navy blue around my border.
- Sc to join (using the yarn you used to join the squares, in my case white).
- Work a Moss Stitch around (You can watch a video on the Moss Stitch from the Catghan here): (Sc1, ch1, Sk1) [reads: single crochet 1, chain 1, skip 1] is the pattern you are going to be using along the straight edges.
- (Sc1, ch2, Sc1) in the corner stitch making sure both Sc1 stitches are in the same corner space.
- Using the above pattern, crochet around using your first color.

- Do your final ch1, sk1 at the end of the row and slipstitch into the first sc of the row.
- Repeat steps 2-5 with the same color using the Moss Stitch for the second row.The trick with the Moss Stitch is that you want to work your SC stitches in the ch1 space of the prior row and then do your (ch1, sk1) skipping the SC stitch of the prior row. This is what gives it that alternating look.
- Fasten off.
- Grab your next color. In my case it was teal.
- Repeat steps 1-7 using the Moss Stitch with your second color so that you have two rows of this color.
- Grab your next color. In my case it was lavender.

- Sc to join, and then sc around (making a sc in every sc space and in every ch1 space from the prior row).
Time to start the Polka Dot Border.
**If you’re like me and find videos easier to follow, you can find one for the Polka Dot Border, here. Otherwise, read on for step-by-step instructions and images.** - Grab your next color. In my case it was magenta. This first round is called the “Set-Up Round” (original pattern by Moogly Blog, available for free).
- Sc to join, ch2, sk2 [reads: single crochet to join, chain 2, skip 2].
- (Sc1, ch2, Sk2) around along the straight edges.
- (Sc1, ch2, Sc1) in each of the corner spaces.

- Using the above pattern, complete one row. Sl st to the first Sc to join. Fasten off with an end to tie in later.
- Grab your next color. In my case it was red.
- Slst to join in any of the ch2 spaces from the prior round [reads: slip stitch to join].
- Dc3tog Cluster (see below) in any of the ch2 spaces, ch2, sk next stitch, Dc3tog cluster in the next ch2 space, following this pattern on straight edges.
[Instructions for Dc3tog Cluster: YO, insert hook in ch sp from prior round, YO and pull up loop, YO and pull through 2 loops (should have 2 left on hook), YO and insert hook in same ch sp, YO and pull up loop, YO and pull through 2 loops (3 left on hook), YO and insert hook in same ch sp, YO and pull up loop, YO and pull through 2 loops (4 left on hook), YO and pull through all loops.]


- Corners: Dc3tog cluster, ch2, Dc3tog cluster in the same ch2 corner space from the prior round.
- Using the above pattern, complete one row. Sl st to the first Sc to join. Fasten off with an end to tie in later.
- Grab your next color. In my case it was navy blue.

- Slst to join in one of the skipped sc st of the original set up round, trapping the ch2 of the prior cluster round, ch2, Dc (double crochet) in the same skipped sc st around that ch2 left in the prior cluster round. This counts as the first 2dc.

- *Fpsc (front post single crochet) around the dc3tog cluster, 2dc in the next sc skipped from the setup round* around along the straight edges.

- Work 3dc in between the clusters in every corner ch2 space.
- Slst to first initial starting ch of round, FO, leave a tail to weave in.
- Optional: You can join your first color again (mine was white) that you used to join your squares together with, and do one final sc around border. I didn’t, but in the original pattern for the Polka Dot Border by Moogly Blog, they did. Totally up to you. I liked the look without it.
- Finally, tie in any loose ends leftover from completing the border.
There is a wonderful youtube video detailing the Moss Stitch Border here by Blossom Crochet. Just keep in mind her terminology is for UK terms. When she says to use double crochet, US would use single crochet to mean the same thing.
There is a wonderful youtube video detailing the Polka Dot Border here by Moogly Blog.
YOUR DOGGHAN IS NOW COMPLETE!
CONGRATULATIONS!


If you like cats and haven’t done the Catghan yet, you can hunt for the patterns on my blog or get a full PDF on Etsy and Ravelry!

Don’t forget to post your blankets on social media:
#DogghanCAL2020
Want to know what’s up next?
The Wishghan!
I created this graphghan as a fun way of celebrating the first story of the Tales of Whimsy series, Wishweaver. Each square will have a different character, item, or location within the story. I’ll be sharing more about the book as we work through the squares and rectangles! I can’t wait! I’ll even give you variations on how you can organize them into either vertical or horizontal blankets.


Will you make a Wish…ghan?
If you’d like to hear me read the first three chapters of the book, here is the video on Ink & Stitches YouTube:


6 Comments
Arina
Thanks so much for the wonderfull dogghan!
JHWinter
You are so very welcome Arina! I’m so glad you enjoyed making it <3
Bryndis Elsa
Hi, I just love your work,both written and the Dogghan which I am about to start. Is there anywhere written total amount of yarn needed in this project so I can buy it all at the same time. What is the final size?
OMG looking forward for your next project The Wishgan! You are so talented girl
Best wishes to you all, from Iceland
JHWinter
Oh, how exciting to get a message all the way from Iceland! Thank you so much for following my work and for your excitement at making the Dogghan and the upcoming Wishghan! The finished size is roughly 5’3″ x 6’4″. As for colors, it was designed as a scrapghan, where you can use up your stash of yarn, replacing some colors (i.e. background colors) with ones you already have. I’ve put together a Master Color Key in to the Introduction Post’s “Materials Needed” section. I hope this helps!
BRYNDIS ELSA
Great! Thank you for your prompt answer. Off I go to the store 🙂
JHWinter
Oh, how exciting it is to go yarn shopping!