Making Mistakes – Crocheting Amigurumi
One of the excellent blog post ideas I received during my giveaway for April’s A to Z Challenge, was a question as to whether or not seasoned crocheters still make mistakes like we did when we were beginners. The answer to this is, yes… or at least, I do anyway. I can’t speak for all crocheters, but especially when I am creating new patterns, I make mistakes often.
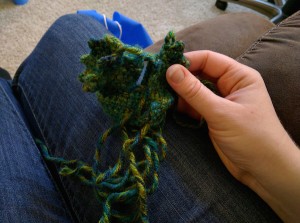
If I am building up a piece for a new character I’m creating, and I notice it isn’t quite the shape that I’m looking for, I rip out the rows where I went wrong and start again.
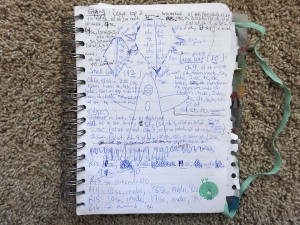
I once showed this picture on a post about Making Patterns, of what pattern writing really looks like. As you can see, it is a mess of chicken scratch, cross-outs, and redos. It can be such a mess, that barely any white room is left on the page! There are even rows of the pattern climbing up the sides of the notebook and wrapping around in an attempt to squeeze them in.
Sometimes, I don’t realize when I’m working on a new piece that it isn’t going to work. I work the entire section up only to find that it won’t fit with the rest of the character. Too big. Too small. The shape isn’t quite right. All of these errors happen often on the road to making each piece perfect.
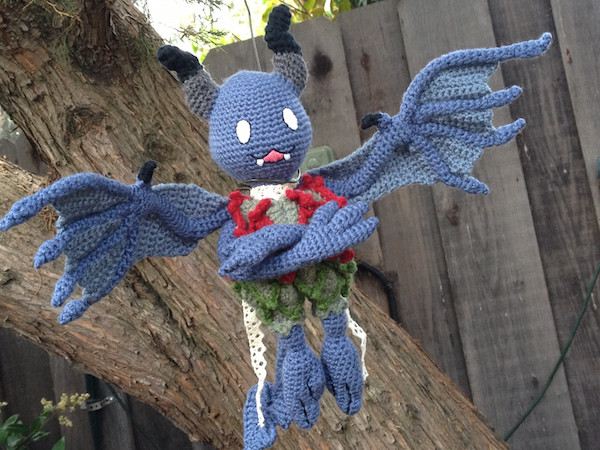
In the Adeline doll I recently made, I started making her a colorful dress, and after completing the top portion of the dress, found that I could barely get her squeezed into it! My goal was that other crocheters who would eventually be making my pattern, would be able to make Adeline a variety of outfits. The only problem was, if putting on the dress was like putting on leggings that are too tight, no one would want to change her outfit in the first place!
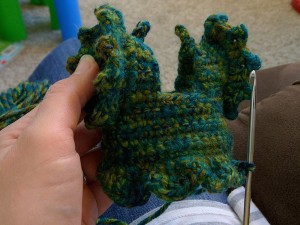
In this circumstance, I would junk the dress but keep the concept. All I needed to do was start with a larger chain in the beginning and likewise, make the rest of the pattern sized up a few stitches and it should slide up perfectly (the dress slips over her, feet first).
The second time around, I changed a few things here and there, and the slight size increase was enough to make the dress fit my Adeline doll perfectly. I’ll be showing pictures of this later on.
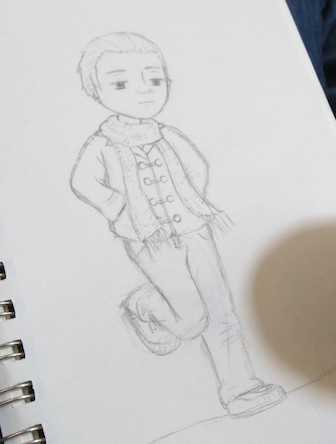
For another of my story’s characters, Timothy, I needed to make his trademark loafers. I wanted them to be slightly larger than Adeline’s boots. He is supposed to be a bit taller than her after all, so likewise, the shoes should be too.
I made the mistake of not decreasing when I was working in the back loops only (where I would begin to build the shoe upward), and the result was a blob of a shoe that was too rounded. I also should have worked the increases at the start so that the toe of the shoe was opposite my stitch marker. Instead, I worked the increases at the toe around to either side of the stitch marker, which meant that the color change was at the front and the areas where I would work in back loops only (leaving the front stitches visible), would have a break in the line at the front as well. This simply wouldn’t work.
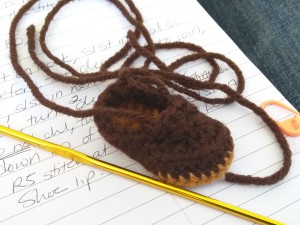
Keeping the pattern, but making the adjustments so the toes were opposite the stitch marker, and I begin decreasing at an earlier point, left me with a more defined loafer. Loafers have some sharper angles and I wanted his shoes to mirror this look.
Just about every piece that I make when creating new patterns, takes me at least a couple of tries. I have grown very accustomed to ripping out rows, and I’m okay with that. It’s the same when I am drawing a new illustration. I have my eraser handy at all times and often what I start with, isn’t what I end up with when the illustration is finished (see Illustration Techniques: What Do you See).
Don’t feel bad when you are learning how to crochet or starting to make your own patterns, and find yourself making countless mistakes.
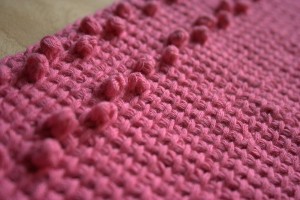
I’ll fess up to something else: I crocheted inside out for at least a year before realizing my mistake and making the needed adjustment. I still look up YouTube videos when I forget how to make a stitch because it is one I haven’t made in awhile (I doubt I’ll ever remember offhand how to make a bobble).
It’s okay to have to flip through those old crochet books, or go online, if you get stuck. Your tension will get better as you go, just as your work will get better too. Just remember, even if you have been crocheting for years (I’m at about eight so far), mistakes are made. The mistakes may be different than the ones we made at the start, but they are still there.
The great thing about making mistakes though, is that we learn something new every time. I won’t say you’ll never make them again because you probably will at some point, but you’re still getting better every time you pick up that hook and yarn.
What kind of mistakes do you make? Do you start over when you see them, or leave them behind? What is your biggest frustration with crocheting?

