Making Amigurumi Patterns (Part Two)
How to Crochet Amigurumi from the Ground Up
I’ve been creating my own amigurumi patterns for almost seven years now, ever since I realized that amigurumi are made by knowing how to make shapes. Using decreases and increases to your advantage there is almost nothing that can’t be converted into a crocheted character. Deciding when special embroidery stitching would add some nice flare, finishes off each piece making it look professional and as true to life as possible.
In Part One of this making patterns series, I explained the ideas behind making a circle shape as well as a flattened triangle which you see often for animal ears.
For this post I’d like to talk about creating tubes and what they’re used for, as well as how to make teardrop shapes (often used for arms and legs).
Creating Tubes:
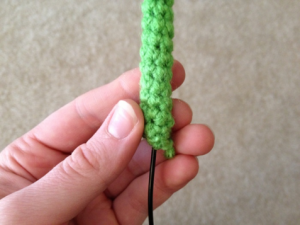
In order to create a tube, first you need to make a chain. Depending on how wide you need the tube to be, will determine how many chain stitches to begin with. For example, in my Happy Sunflower pattern (click the link to get the free pattern), the stem begins with 6 chain stitches joined together to form a ring to which single crochets are worked in the round to create the tube.
Sunflower Stem Pattern Instructions to Make a Tube:
- R1:ch6 (leaving tail), sl st in 1st ch to make circle, place stitch marker, sc around – 6
- R2 – 17:sc around – 6
sl st, FO, leave tail for sewing.
Ink & Stitches Video of How to Start Making a Tube:
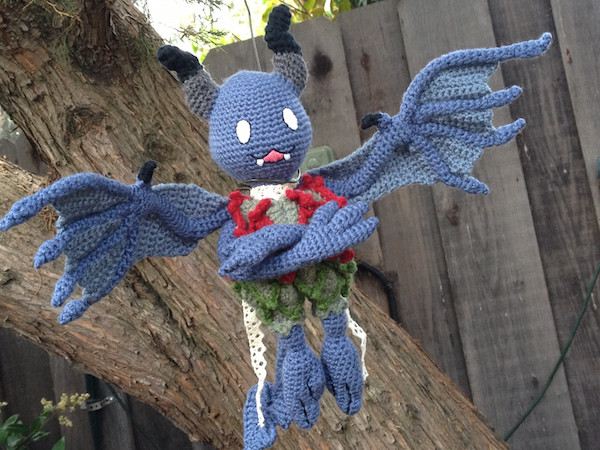
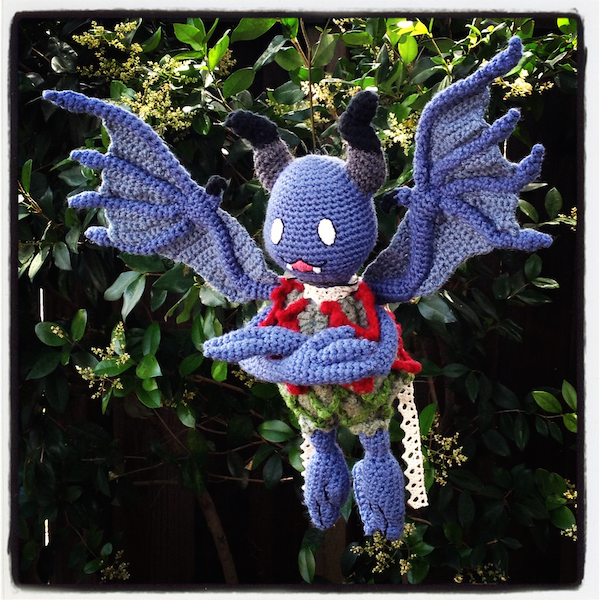
I used this technique not only on the stem of my Happy Sunflower, but also for the bat wings in my Veddel pattern. The upper wing is the only part with wiring, but creating a tube was essential to being able to fit the wiring into the piece in order for the wing to be posable. You’ll see tubes created to make legs and arms where often the arm is a tube and a separate piece is made for the hand or foot. They are a wonderful shape to make for allowing wiring to fit through, so you will find them used in crafting amigurumi often.
Teardrop Shape:

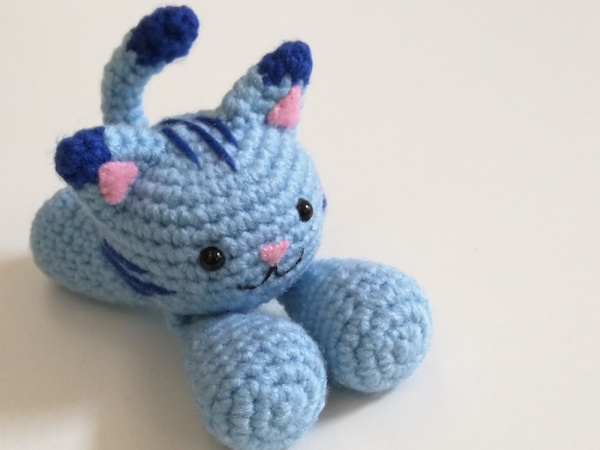
The teardrop shape, you will often see used for arms and legs of characters that don’t need defined fingers. Rather than decreasing to create a point at the top of the teardrop shape (for an arm it’s where the shoulder would be attached to the body), the shape ends while the top is still flat across. It would be very difficult to sew a point down to the body of an amigurumi and is much easier to sew down when the top is straight across. In order to make the top circle a straight line, the piece is just flattened together. Often you may want to crochet both sides together to create one solid line instead of having a circle, which helps to make the arms or legs even more floppy. I used this technique to make the arms and legs of my Floppy Cat pattern (click the link for the pattern).
To begin a teardrop shape, you build up the increase rows just as you would for a circle shape (see post on Making Patterns Part One). Once you have the width the size you want for the piece you are making, you will begin building up the height. Begin with several single crochet (sc) around rows. This will build up some of the height of the piece. When you want to begin closing off the hole, you want to alternate doing a decrease (dec) stitch (decreasing evenly around the row) with single crochet stitches. For example, you may see instructions saying something like this:
…
- R10:(5sc, dec) around – 24 Read as: (5 single crochets, decrease) repeat pattern around – 24
- R11-13:sc around – 24
- R14:(4sc, dec) around – 20
- R15-17:sc around – 20
- R18:(3sc, dec) around – 16
- R19-21:sc around – 16
- R22:(2sc, dec) around – 12
- R23-24:sc around – 12
sl st, FO, Flatten top and sew to body piece.
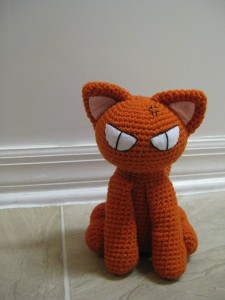
By repeating the pattern of decrease rows and single crochet around rows, you will have a very gradual closing off of the hole. The last line of the pattern piece reads as follows, “slip stitch, finish off, leave tail. Flatten top and sew to body piece.” This essentially will end your last round by tying off the yarn and leaving a tail to sew your piece to another piece. If you flatten the two sides together, and don’t stuff all the way to the top, this will allow your arm or leg piece (if that is what you’re making) to be floppy at the joint.
I hope these two new shapes will help you in creating your own patterns in the future, or if you are following another crocheter’s pattern, that you understand the thought process behind why the instructions are created the way they are.
Have you found these Making Patterns posts helpful? Are there any techniques you’d like me to explain? Have you ever tried your hand at making your own amigurumi patterns, and were you successful?

2 Comments
Jackie
Those bat wings you made are so cool-actually that whole character is! Great work!
JHWinter
Thank you, Jackie! That was a character I made awhile back called the Veddel from a video game, Lord of Apocalypse. He was definitely one of the more challenging characters I’ve made but I’m very pleased with how he turned out!