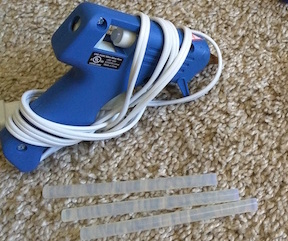
A to Z Challenge: H is for Hot Glue and Rock Sculptures
 I remember a time when my dad used to help me with my crafts that required use of a hot glue gun. They certainly do get hot, but it’s amazing what you can create with them!
I’ve made Popsicle Stick picture frames (see post later this month on making one yourself), sock puppets (more on this to come in April), and fun rock sculptures as well. There is really no end to what you can create with the use of a hot glue gun!

You may get a few burns along the way, especially if you’re klutzy like me, but it’s always well worth the resulting 3D art! Speaking of which, I’d like to share with you how to make one of those rock sculptures I was talking about.
Let’s Make Something Fun! Caterpillar Rock Sculpture
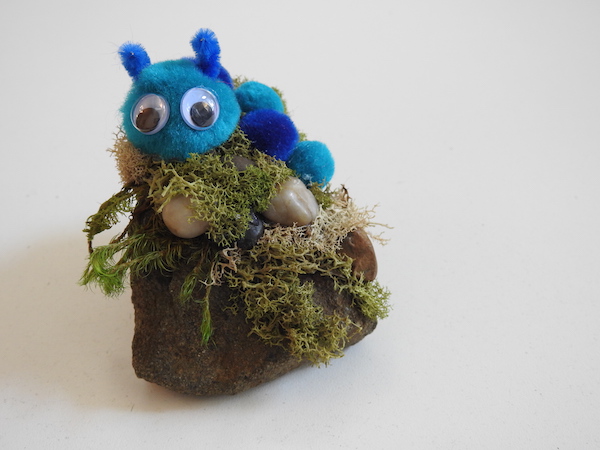
Materials Needed (found at any local craft supply store):
- fake moss (I love using the variety pack!)
- river stones (small size)
- hot glue gun
- hot glue sticks
- puff balls (varying colors)
- googly eyes (small to medium size)
- pipe cleaner
- large rock
- First things first, find a rock. Not just any old rock. Try to find one that has varying levels and grooves, but also has some flat surfaces for your characters to sit on. Place your rock in the center of your newspaper with the most stable side down for balance.
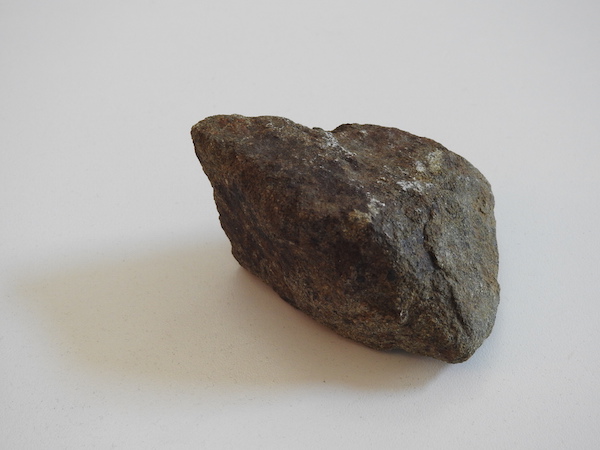
Photo Credit: J.H. Winter - Lay out your materials in front of you (once the glue gun is hot, you don’t want to be leaving it to grab the things you need). Decide how you want your character to look and make sure you have all parts at the ready.
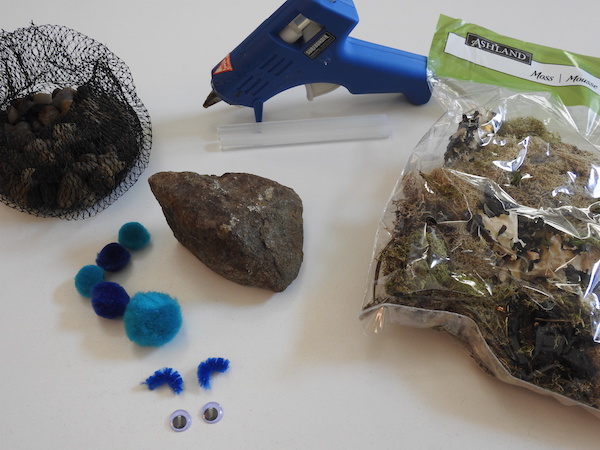
Photo Credit: J.H. Winter - Get your hot glue gun heating. You want to wait until the glue begins to drip from the tip onto your newspaper. This will tell you that it is hot enough to be worked with.
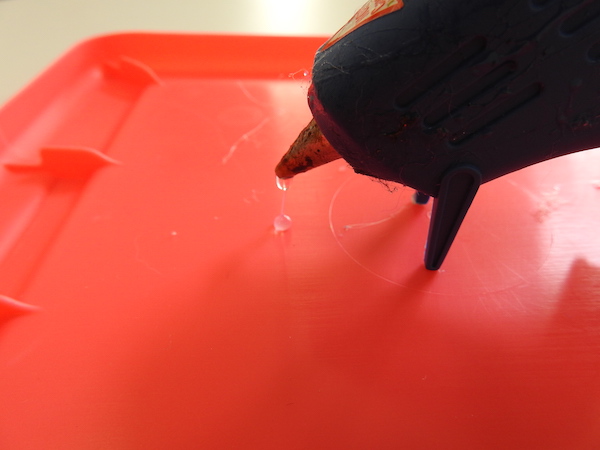
Photo Credit: J.H. Winter - While it is heating, pick out the pieces of moss you want to work with. You can lay them over areas of the rock to see how they look before you begin.
- Begin by gluing moss to the rock.
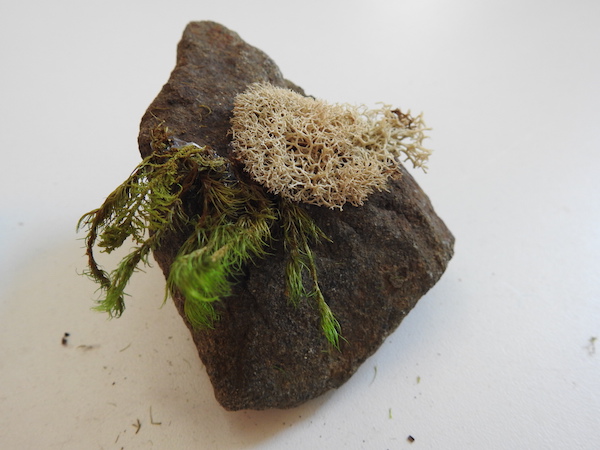
Photo Credit: J.H. Winter 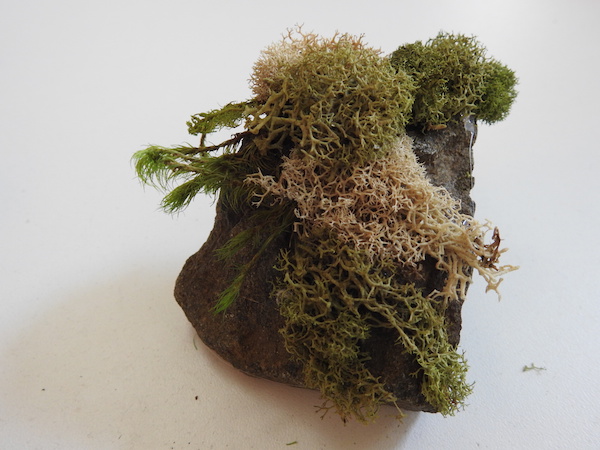
Photo Credit: J.H. Winter - Make your character and glue it to the rock: Start by gluing down the head first, then antennae, and finally the eyes. Continue by gluing down the remaining body segments whichever direction works best on the rock you’ve chosen.
**Note: If you are making a single, larger pompom character, you can always make the character first before applying it to the rock sculpture.**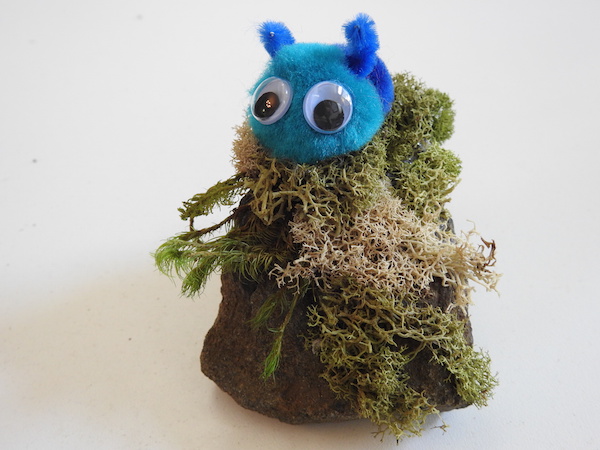
Photo Credit: J.H. Winter - Take your bag of smooth (small-sized) river stones and add them here and there to break up the moss. Afterward, I go back over the rocks, adding small bits of moss in between, so it appears the moss grew on top of them.
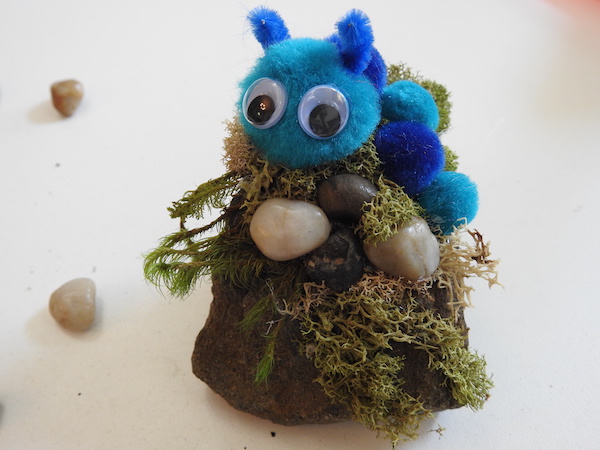
Photo Credit: J.H. Winter - Add any final touches you’d like. Your rock sculpture is now complete.
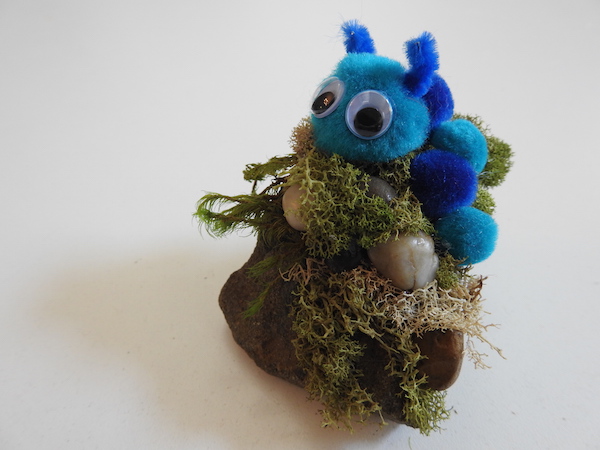
Photo Credit: J.H. Winter
I have made Totoro versions of this rock sculpture and Soot Sprites (see the Misc. section of my Portfolio). Maybe you know someone who likes owls? You could get some natural-colored pompoms and some felt and make one of those. Perhaps you like cats or dogs. They would be pretty easy to make using the same sorts of materials.
Whatever character you choose, these rock sculptures are a fun way to pass the time and offer a nice centerpiece or decoration for any shelf. You could make an entire scene if you have a larger rock. You could even make a terrarium of characters with a collection of rocks glued together.
The possibilities truly are endless with this one!
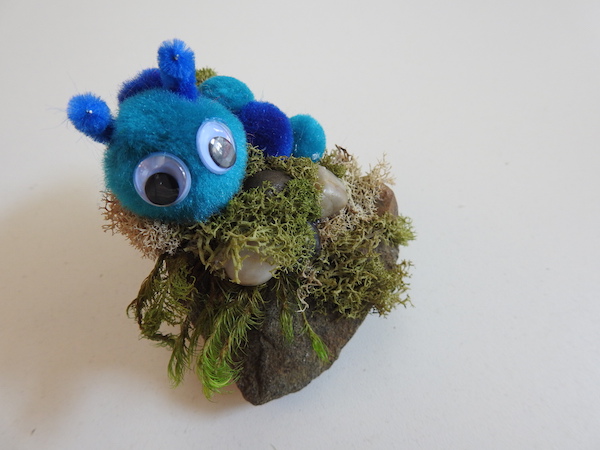


14 Comments
Stefani
Cute project!
JHWinter
Thank you, Stefani! They are a lot of fun (and easy) to make 🙂
Lisa L.
What an adorable and easy project. I love it!
JHWinter
Thank you, Lisa! They are so fun and easy to make. I’ve even given them as gifts before and they were well received!
Bhawna Saini
What a great yet easy to make idea, just the kind of craft I like!
@bhawnasaini_yml from Yellow Mellow Life
JHWinter
Precisely! I am a fan of projects that don’t take too much time to make. 🙂
Jackie
This is such a good idea! I love crafts with materials that are easy to find/purchase (like rocks!). The ones that you created are so cute!
JHWinter
Thank you, Jackie! You can always use craft glue with your kids, if you are worried about the heat from the hot glue gun. It will just take a bit longer to dry is all.
Jennifer Shelby
Cute! I might try this one with Evening and some craft glue
JHWinter
I was just telling another mom to use craft glue instead. I used hot glue, since I was making it myself, but I definitely wouldn’t recommend hot glue with young children. Craft glue should work just as well. It will simply take a bit longer to dry 🙂
Sheila Good
Cute! My granddaughters would love to make that. thanks for sharing.
JHWinter
This would be a great project to make with your grandkids! Depending on how old they are, you should be able to use craft glue instead, if the hot glue is a problem. You’ll just have to hold the pieces down longer and/or let them dry longer before moving the sculpture around. Have fun with it! I’d love to see pictures if you do make one 🙂 You can post them to my Facebook page here.
Kimberly
That is adorable! I will have to try out these. I love my hot glue gun =)
JHWinter
Thank you, Kimberly! I’m glad you like it! They are so quick to make and so cute to look at. What more could you ask for?