Amigurumi Crochet Along: Rolland the Roly Poly (4 of 6)
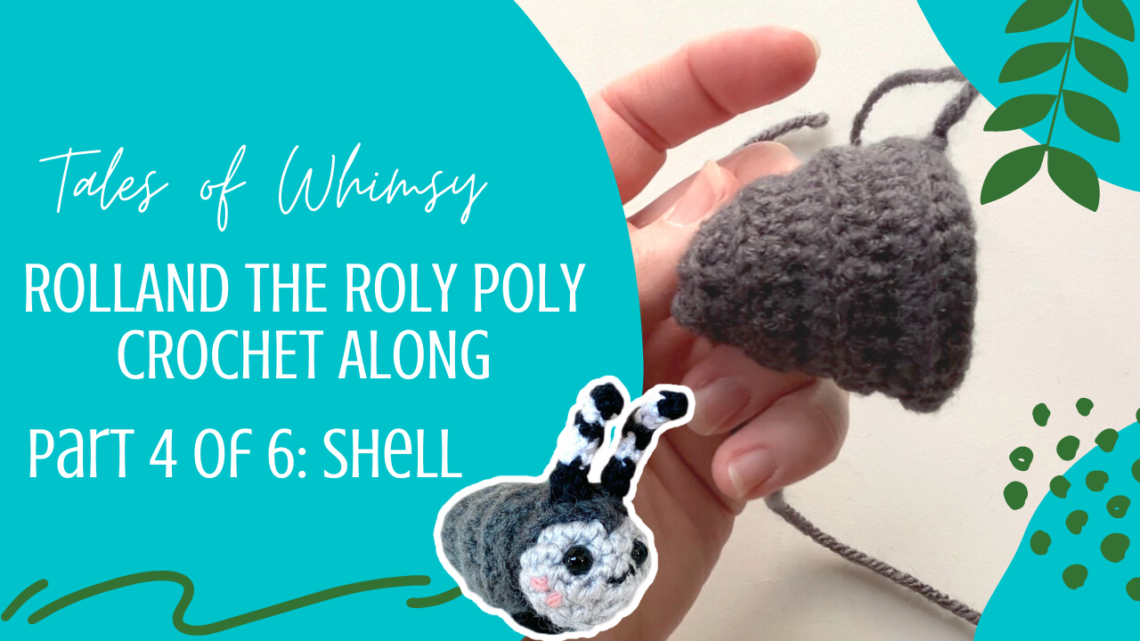
We’re back with part 4 of this crochet along, making Rolland’s shell this time! This piece will become a little cup for the body to fit into.
If you’re just starting, make sure to start with Rolland’s Head (Part 1 of 6) to get caught up.
I’d love to see your Rolland’s-in-progress! Just tag me on social media @jhwinterauthor or #RollandCAL2021!
Materials Needed:
- Crochet Hooks:
3.5mm / US E/4
2.25mm / US B/1
3.25mm / US D/3
- 6mm Safety Eyes
- Stitch marker
- Yarn Needle
- Embroidery Needle
- Black Embroidery Thread
- Toy Stuffing
Yarn:
- Red Heart Super Saver Solids:
1 ball in Gray (A)
1 ball in Charcoal (B)
1 ball of Black (C)
small scraps of pink (D) - Lion Brand Bonbons:
1 ball in Black (E)
1 ball in White (F)
Abbreviations:
mr – magic ring
slst – slipstitch
sc – single crochet
ch – chain
inc – increase
invdec – invisible decrease
st(s) – stitch(es)
FLO / BLO – front loops only / back loops only
FO – fasten off
Pattern (Part Four): Shell
Feel free to follow along with me as I work through each part from start to finish on Ink & Stitches Youtube!
Shell (with B):
**(ch1, turn) at the end of each Row**
R1: ch16, sc in 2nd ch from hook, 14sc – 15
R2-5: 15hdc in BLO – 15
R6: (hdc, hdcdec) 5 times in BLO – 10
R7: 5hdcdec in FLO – 5
Fold tail end and whipstitch down to create end for the tail of the body to fit into nicely.
That’s it for this week! We’ll get the next part on #WishweaverWednesday next week! Also, in case you missed it, I’ve started a community over on Discord! Simply click the link below to join in the conversation!


