
A to Z Challenge: V is for Video (Ink & Stitches YouTube Channel)

 It’s time. If you are here for writing advice but enjoy the posts about amigurumi and just don’t know how to make one, or if you just want to learn crochet anyway, today is the day where class begins!
I have begun an Ink & Stitches YouTube Channel and the first few videos are now live! Here I am going to be teaching you how to crochet stitch-by-stitch. I will try not to leave anything out!
This channel will be for crocheting, but geared toward making amigurumi specifically.
Here, I will begin by going over the basic stitches used in crochet. There are two videos up to view, that talk about the Magic Ring Technique as well as the Double Magic Ring and the difference between the two. There is also one up on how to increase.
Once you understand the basics, I would like to work through a pattern with you, in a series of posts that will get you from start to finish. These will include: videos on how to assemble your amigurumi; adding any embroidery details necessary; how to finish off (FO) or bind off; and what it means when the pattern says to weave in stitches once your piece is finished or you’ve attached two pieces together. I will talk about common materials used, as well as resources to find great patterns.
Certainly, some of these videos will be my own method of doing things. This is by no means the only method to accomplish such tasks. My ways have worked for me for years though, so I think it’s safe to say, I wouldn’t steer you wrong.
Let’s begin at square one: Magic Ring technique and Double Magic Ring.
Materials Needed: yarn, stitch marker, and crochet hook (any size will work; I use size F)
Here is the Magic Ring technique to help you learn how to begin that very first round in crocheting amigurumi:
An alternative to the magic ring technique, one that gives an even tighter center circle, is called the Double Magic Ring. Here is a video from the Ink & Stitches channel to explain:
Next, we move onto round two: Increase.
Once you have finished learning how to make the magic or double magic ring (whichever you prefer), you will then begin the next round which is often to increase around. Here is a video to show you how to do just that:
I hope you found these three new videos helpful! The next videos coming down the pipeline will teach you: decrease, invisible decrease, and how to chain, join into a ring, and work single crochets into that chain (see stem piece on my Happy Sunflower pattern).
Which do you like better: the magic ring, or the double magic ring? Had you ever heard of the double magic ring before today? Did you find these videos helpful?
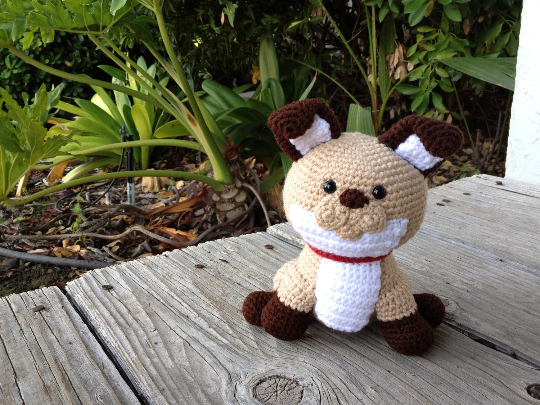
The Giveaway for a handmade crocheted dog is ending in just a couple of days. Don’t forget to enter to win!




4 Comments
Bhawna Saini
Youtube channel! How wonderful! I am also trying my hand at making videos this summer and am on the brink of taking the plunge!
@bhawnasaini_yml from Yellow Mellow Life
JHWinter
Good luck, Bhawna! Looking forward to watching them 🙂
Bobbie Kinkead
GREAT! WONDERFUL! DELIGHTFUL and lots of work on doing and putting together than blogging. NICE! ENJOYABLE!
Information and A+, like your layout!
wordpress – http://www.BobbieKinkead.com;
and twitter – @BobbieTales; my blog on writing is BlobBlobandBloging – http://www.blobblobandblogging.net/;
atozchallenge – The Story Realm, http://bobbiekinkeadtales.blogspot.com/. I love stories: personal, classics, tradition, and modern. YOU have an unique and creative story, keep telling it.
JHWinter
Thank you very much, Bobbie! Very high compliments 🙂