- Books. Books. Books., Giveaway, Illustration, Published Books, Tales of Whimsy, Wishweaver Wednesday
WISHWEAVER Wednesday: A Peek Inside the Story
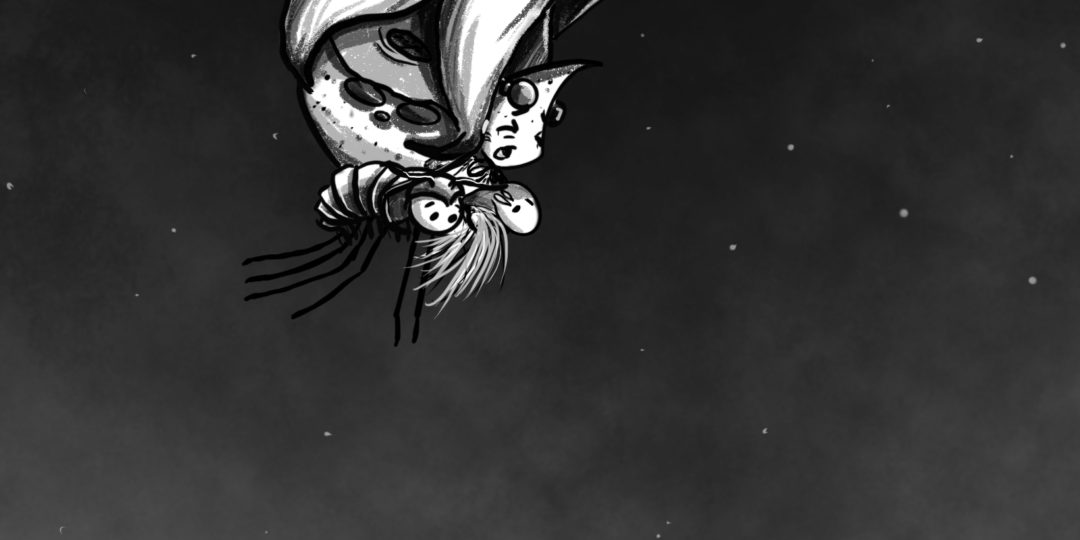
Here’s another Wishweaver Wednesday sneak peek inside my book, WISHWEAVER.
- CAL (Crochet Along), Craft Tutorial, Crafts, Crochet, Etsy Shop: InkAndStitchesArt, Free Pattern, YouTube Video
CATGHAN CAL – WEEK #7 – Snow
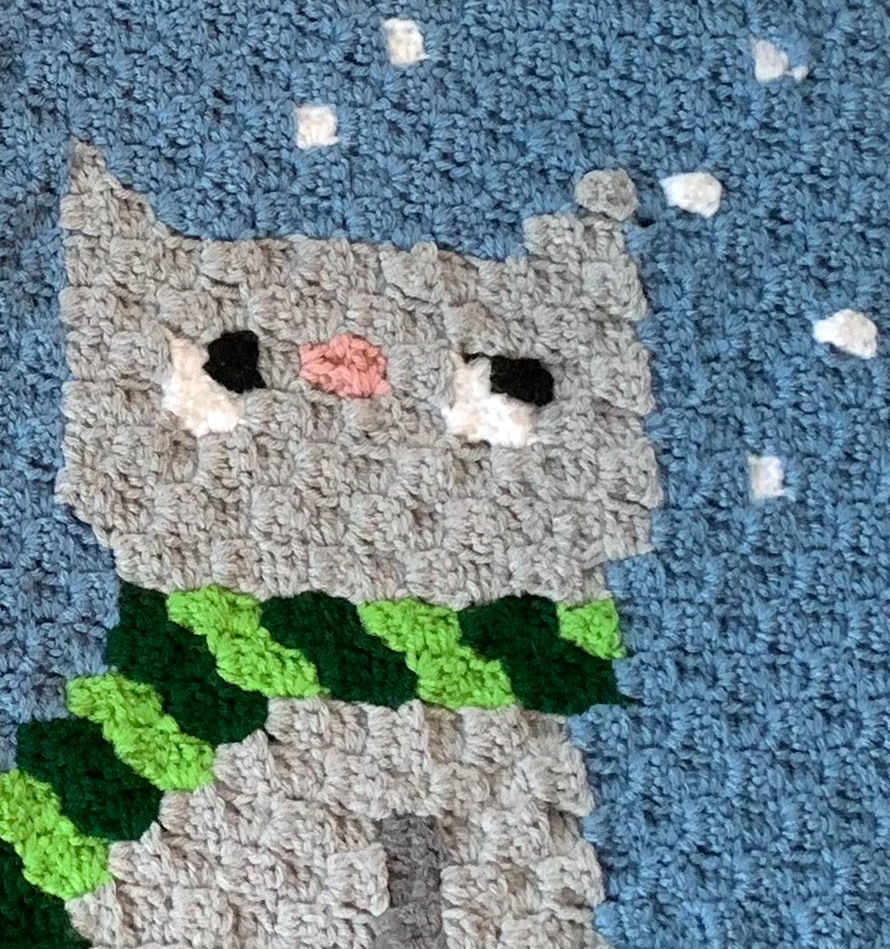
CATGHAN CAL – WEEK #7: Snow
- CAL (Crochet Along), Craft Tutorial, Crafts, Crochet, Etsy Shop: InkAndStitchesArt, Free Pattern, Misc. Fun!, YouTube Video
CATGHAN CAL – WEEK #6 – Pink Bows
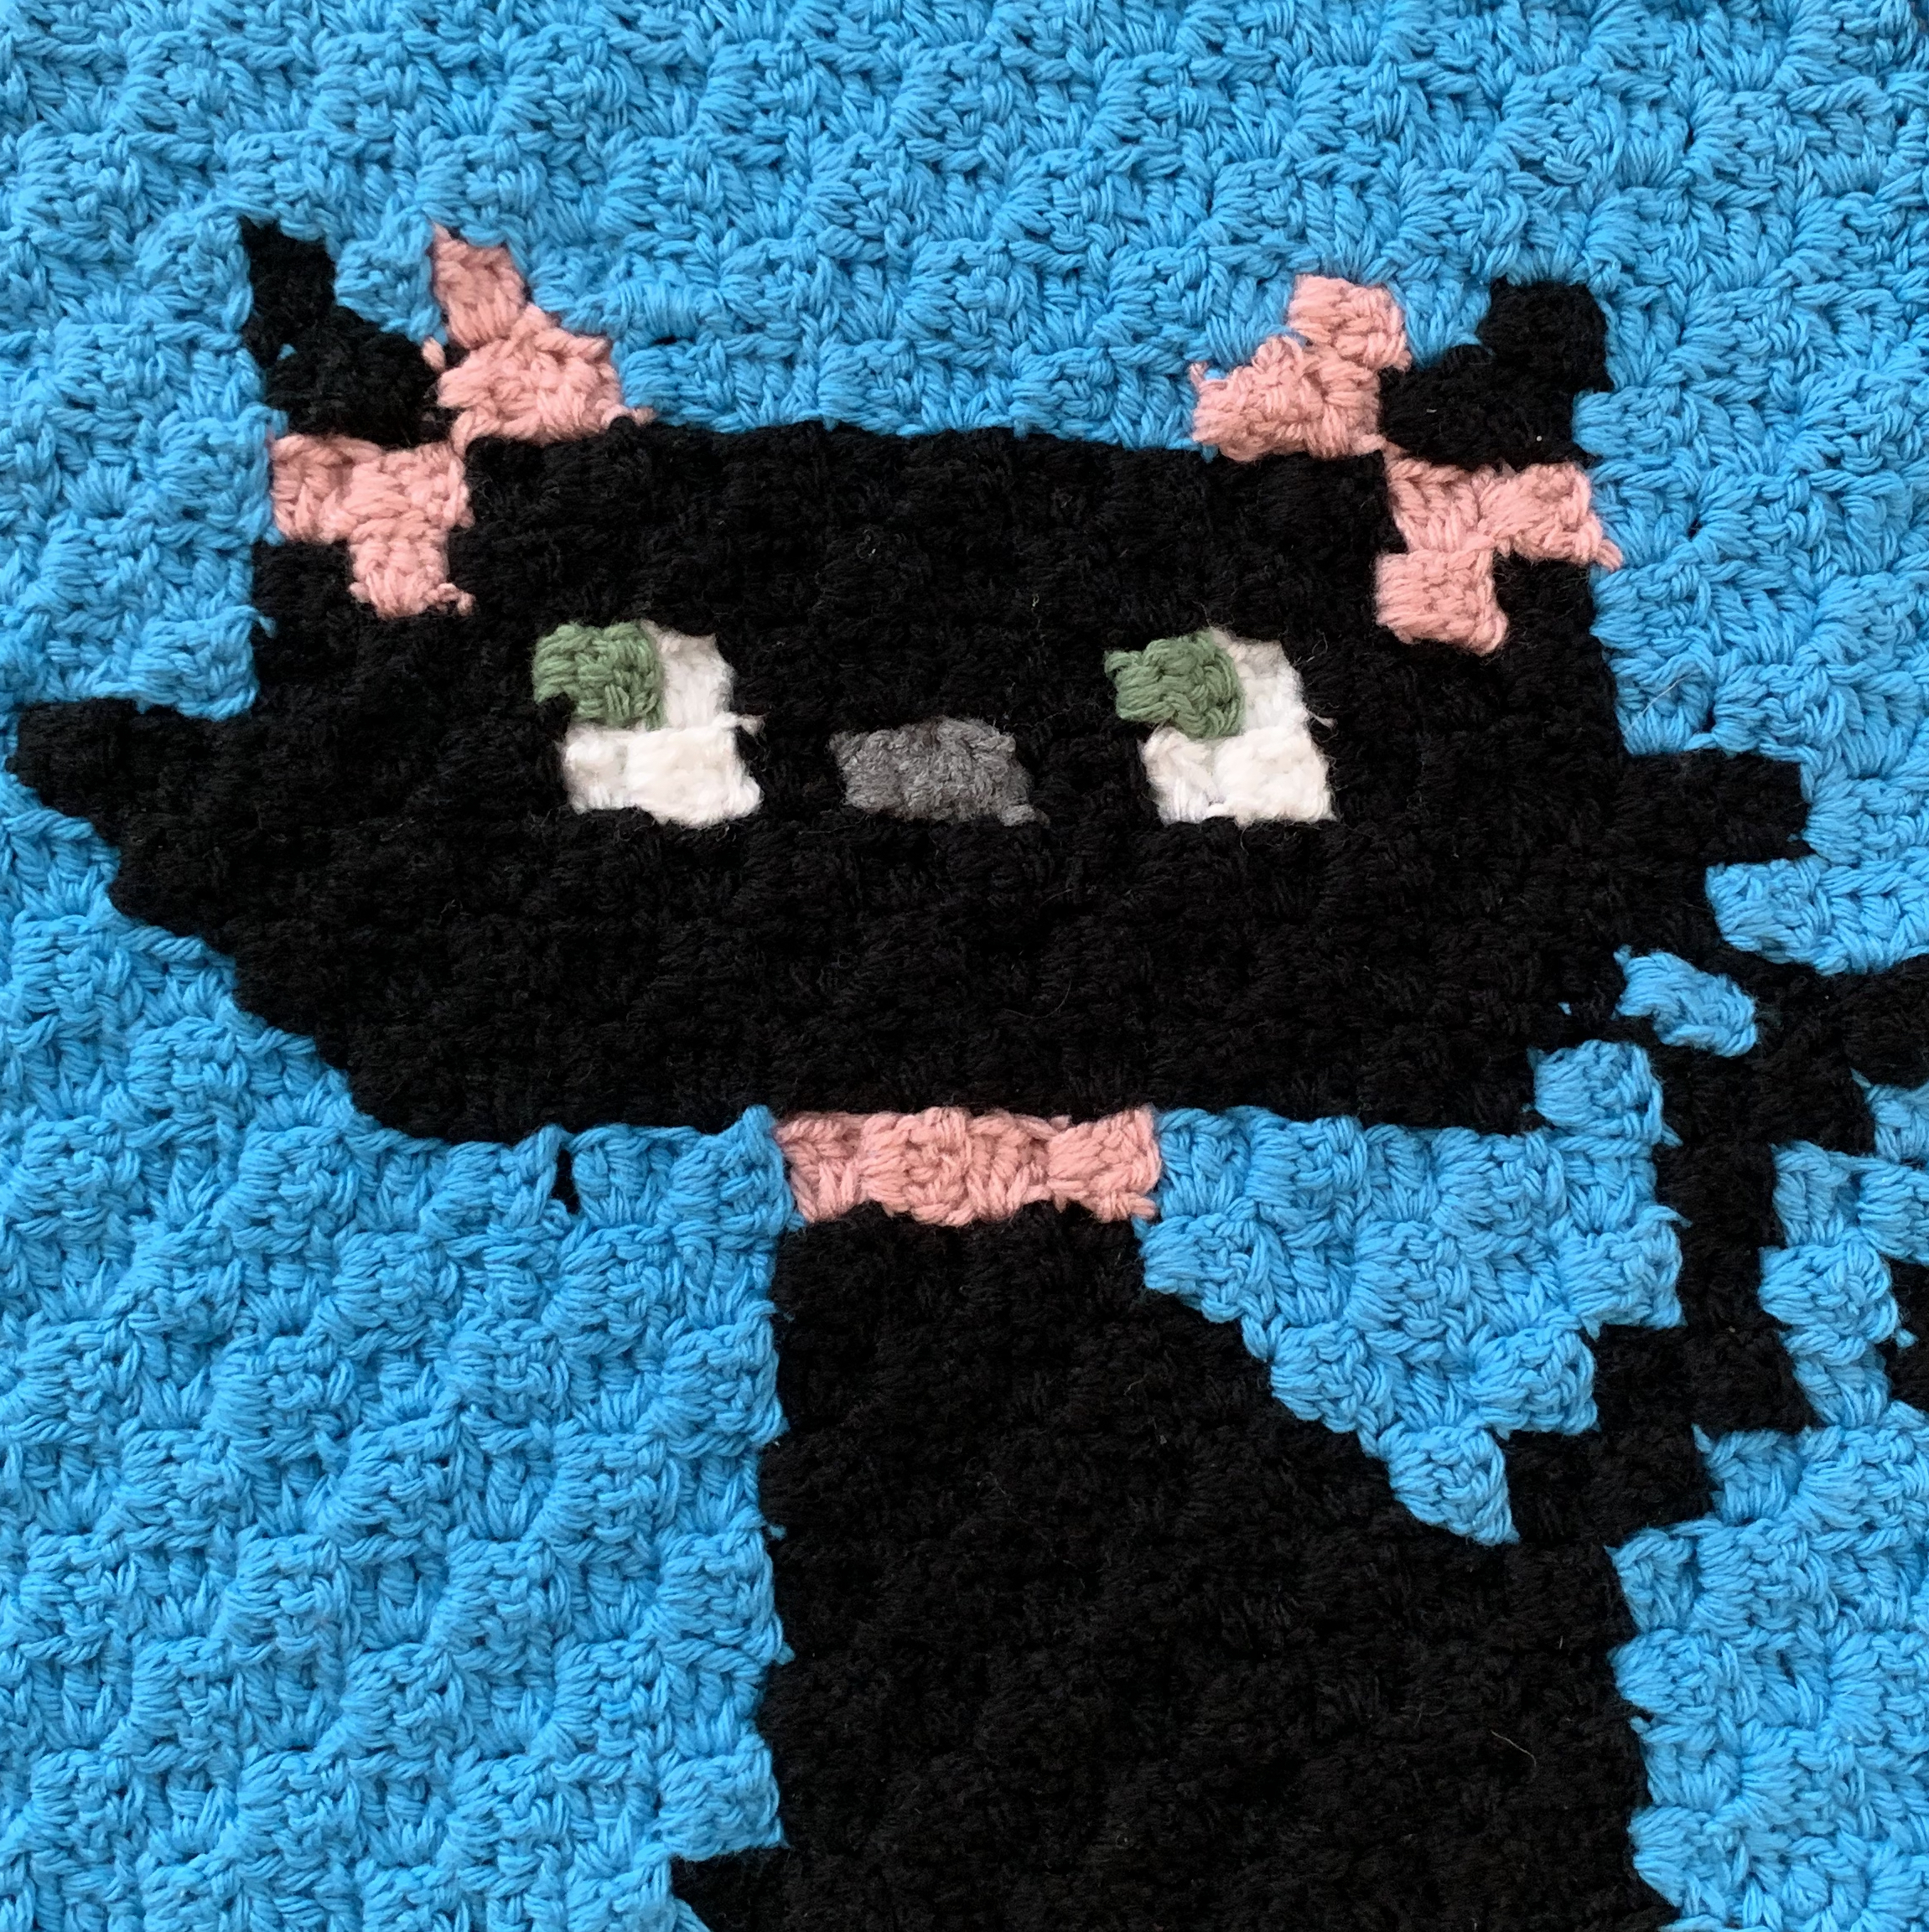
CATGHAN CAL – WEEK #6: Pink Bows
-
DIY: Solar System Themed Birthday Party
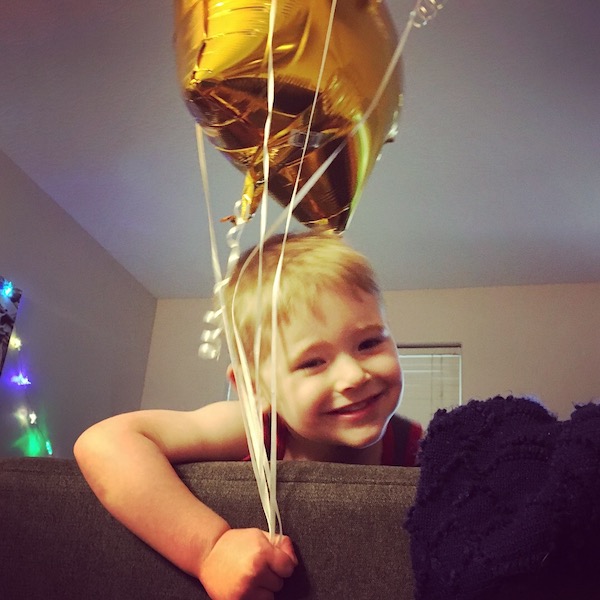
For my son’s fourth birthday, there was only one possible theme we could go with. He lives and breathes the planets, and yes, we do include Pluto in this house!
I immediately went to Pinterest for inspiration. It wasn’t like Party City was going to have anything planets related. Unless he wanted a Ninja Turtles or Ninjago party I was out of luck! I created a Planets Party board and got to work searching every possible DIY project I could find on the subject. Surely, other kids had wanted such a party in the past and lucky for me, I was right!
Since we were having the party at our house, I wanted the kids to have things to do.
I first saw the project to make your own Nebula in a Jar. How awesome would that be??? Then I checked the ingredients: sparkles, cotton, water, and paint. Four-year-olds, wood floors, and paint. Hmmmmm….
Instead of having the kids do this craft, I got one large jar, and small corked vials and created them with my son’s help. The large jar became a centerpiece for the table and the little ones I put in the goodie bags to take home. I made sure to hot glue down the lids on all vials and jars as the cotton balls soak up a lot of the paint, but it takes awhile for them to fully soak it up (if at all). I created little tags and used twine to wrap them around the top that said “Nebula” for the little ones and “Nebula in a Jar” for the big centerpiece. I loved them and so did my son.
Next, I kept looking for projects the kids could do. I decided that since paint was out, I could manage pens and had them Making Straw Rockets, (coloring rocket ships and creating sailable rockets using straws to launch them). This was a hit and the kids could see whose could go the furthest. We had them write their names after they were done coloring their rockets.
Next up, I had them decorating Moon Rock bags using sheets of stickers and pens and having them put their names on them. While they were decorating their bags, my dad and brother held up a large solar system blanket to block off the view of our front family room and dining area. Then I got to hiding the moon rocks I had made.
The Moon Rocks were just Easter Eggs that I had leftover. I filled them with toys, loose change, candy, and little pompom creatures I had made up with a hot glue gun. These I wrapped in aluminum foil, and presto-chango…Moon Rocks!
Needless to say, the kids LOVED the
Moon Rock Hunt
-
What I am Working On: Theodore and the Enchanted Bookstore, Book Two
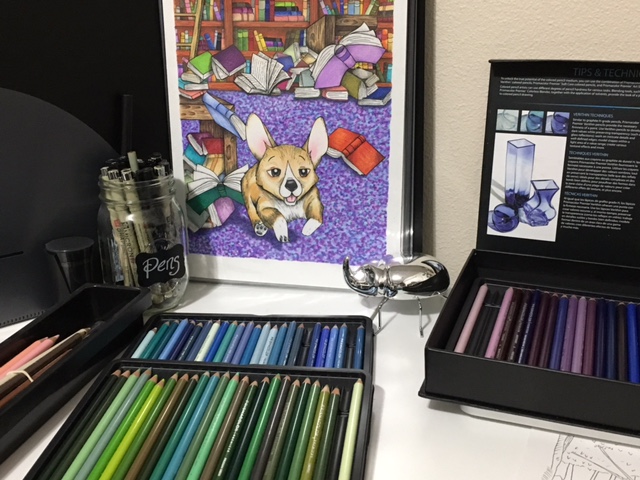
Theodore the Corgi is at it again, and I’m right there to breathe life to his escapades in Book Two of The Enchanted Bookstore series by K. Kibbee!
With
Theodore and the Enchanted Bookstore: Tale of the Spectacular Spectacles
-
Craft for Kids: Finger Painting
When my son was only about a year old, we went to a birthday party where my friend had organized a craft for the kids. She’d provided small (8×10) canvases and Crayola washable paint, and had lined her entire living room floor with butcher paper. Her hope was that the kids would use their hands to make paintings and there would be minimal mess afterward.
My son was a bit young for this at the time, but I had an idea. I stripped him down to his diaper and created our paper plate palette of paints (say that three times fast!). Once we had our paints, I took his fingers and dipped them in the first color: red. He wasn’t sure of the texture of the paint and why I was dipping his poor little helpless fingers into it, but we began to paint. I dotted his fingers on one side with a sort of stippling effect on the canvas. I did the same on a few different areas of the canvas.
Next, we picked up a different color and began to layer our dots. Sometimes we had a few little lines where I’d drag his little fingers across the canvas.
By the end, I had a child who wasn’t all that happy anymore, but we had a wonderful painting out of the deal. We’d covered the entire canvas and all four sides and it was now a frameable piece of art!
When the grandparents saw James’s masterpiece, they requested he make one for them as well. So, now at our own home and with no butcher paper to save our floors from mess, I took James into the bathroom tub to paint. I was in a bathing suit and he was just in his diaper again. Our apartment at the time was tiny and this was the only space I could be sure he wouldn’t get his hands all over the walls.
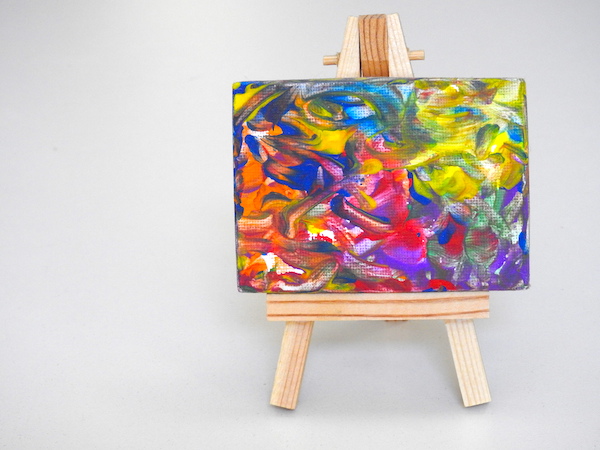
We used his fingers and toes and got to painting some more. This time, I had bought some of the same sized canvases as we’d worked with before (they can be found at the craft store in packs of ten), but I also found mini canvases (2″ x 3″) that you could buy little easels for displaying them on. What a great idea! James was my little Picasso; why not display his paintings on an easel? It made perfect sense.
Since I didn’t want to torture him any more than was necessary, we just got done all the paintings we would need to give as gifts in one sitting. Each grandparent got a big one, and then my mom and our house got one of the mini paintings with the easel. Paintings done and laid down on the ground outside of the tub, we got to taking a rainbow colored shower which was James’s favorite part of the entire experience. He has always been my water boy!
This is a great craft project to do with your kids. The paintings come out amazing and even if your kids are small, you can always use their fingers to do the painting. Just don’t be surprised if they aren’t as happy about it as you are. Just keep telling them that they are little painters making beautiful art to share with the world.
Once finished, the projects can be sprayed with a sealant spray (Krylon is a good brand) that will help to stop the paints from washing off. Also, keeping it away from water will help. You can use paint brushes and regular paint (not the Crayola, non-toxic kids paint) if your kids are a bit older as well for a more durable finish. I found that the Crayola paints and sealant spray worked just fine though.
What do you think of the paintings? Is this something you’ve tried before, or think you might try with your own kids?
-
Dragon Craft Project : Fun with Kids
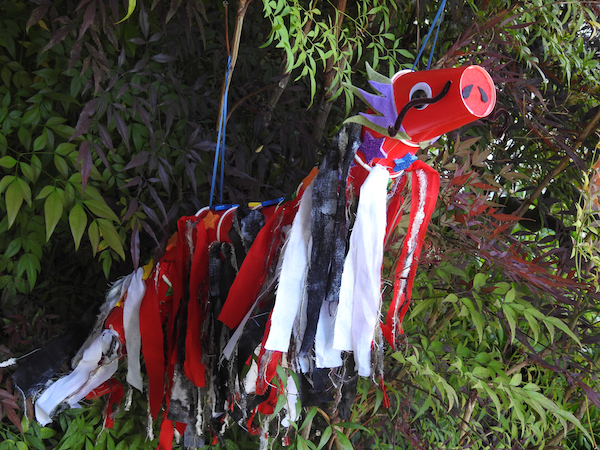
When this book, Fun Things to Do with Paper Cups and Plates by Kara L. Laughlin, came through the library where I work, I had to take a minute to thumb through the pages. The cover was too cute to let it slip through my fingers without a glance!
There are lots of fun crafts to do with your kids in this one, but my son is only 2 1/2 years old, so the project would have to be basic. Unfortunately, my favorite craft from the book that I just had to make, was the dragon (a bit advanced for a two year old) made with paper cups.
I had a few ideas as to how James could participate during this project, as well as some alterations and additions I planned to put in, that differed from Kara’s original design.
The first way James could help me was to pop the holes in the center-bottom of each cup. Don’t worry, I didn’t give him any sharp objects! I actually used a small meat thermometer for lack of options. I held the thermometer steady, and he pushed it down into the cups to make the holes. Let’s just say, he kept wanting more cups even though we’d already popped holes in the eleven we needed for the project. Hadn’t considered that one!
The first alteration I made was how I did the tail cup. I ended up not wanting it to be open and instead had the last two cup openings facing each other. To keep them from coming apart, I got out my trusty hot glue gun and glued them together (see my
H is for Hot Glue and Rock Sculptures