Craft for Kids: Finger Painting
When my son was only about a year old, we went to a birthday party where my friend had organized a craft for the kids. She’d provided small (8×10) canvases and Crayola washable paint, and had lined her entire living room floor with butcher paper. Her hope was that the kids would use their hands to make paintings and there would be minimal mess afterward.
My son was a bit young for this at the time, but I had an idea. I stripped him down to his diaper and created our paper plate palette of paints (say that three times fast!). Once we had our paints, I took his fingers and dipped them in the first color: red. He wasn’t sure of the texture of the paint and why I was dipping his poor little helpless fingers into it, but we began to paint. I dotted his fingers on one side with a sort of stippling effect on the canvas. I did the same on a few different areas of the canvas.
Next, we picked up a different color and began to layer our dots. Sometimes we had a few little lines where I’d drag his little fingers across the canvas.
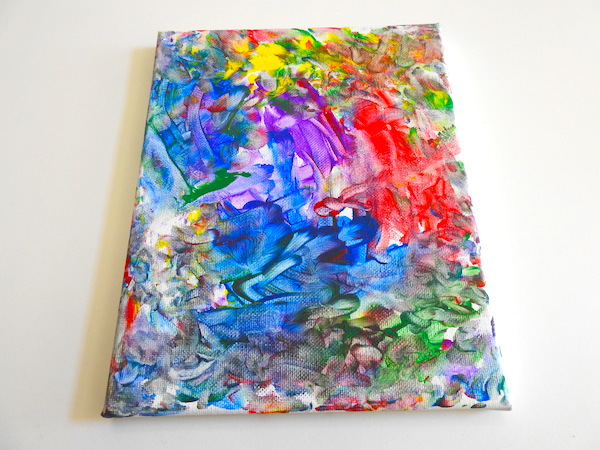
By the end, I had a child who wasn’t all that happy anymore, but we had a wonderful painting out of the deal. We’d covered the entire canvas and all four sides and it was now a frameable piece of art!
When the grandparents saw James’s masterpiece, they requested he make one for them as well. So, now at our own home and with no butcher paper to save our floors from mess, I took James into the bathroom tub to paint. I was in a bathing suit and he was just in his diaper again. Our apartment at the time was tiny and this was the only space I could be sure he wouldn’t get his hands all over the walls.
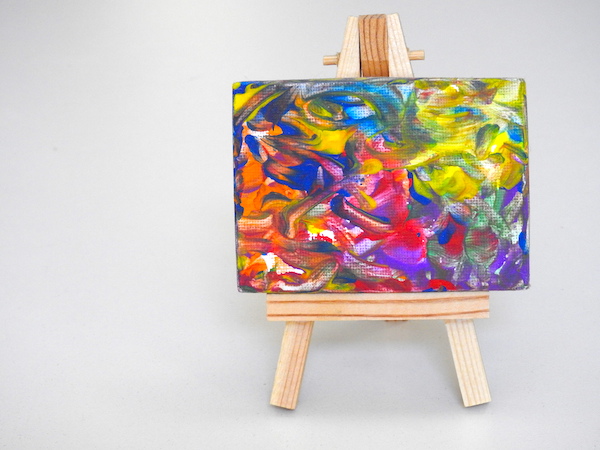
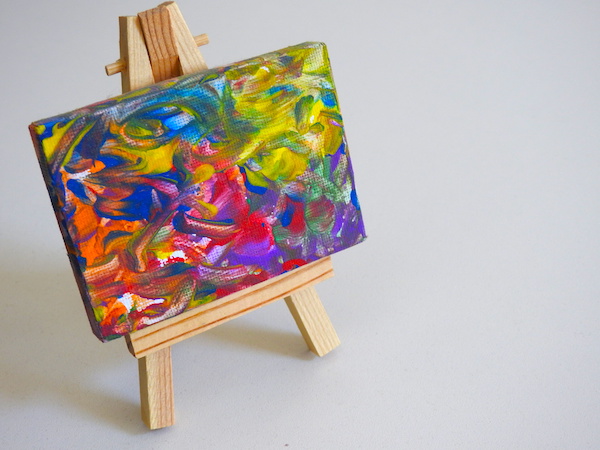
We used his fingers and toes and got to painting some more. This time, I had bought some of the same sized canvases as we’d worked with before (they can be found at the craft store in packs of ten), but I also found mini canvases (2″ x 3″) that you could buy little easels for displaying them on. What a great idea! James was my little Picasso; why not display his paintings on an easel? It made perfect sense.
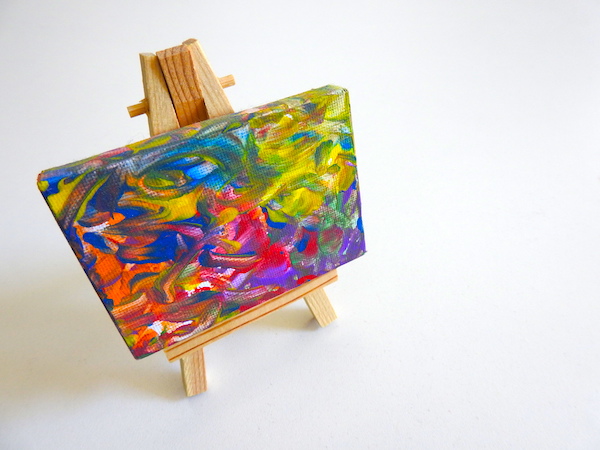
Since I didn’t want to torture him any more than was necessary, we just got done all the paintings we would need to give as gifts in one sitting. Each grandparent got a big one, and then my mom and our house got one of the mini paintings with the easel. Paintings done and laid down on the ground outside of the tub, we got to taking a rainbow colored shower which was James’s favorite part of the entire experience. He has always been my water boy!
This is a great craft project to do with your kids. The paintings come out amazing and even if your kids are small, you can always use their fingers to do the painting. Just don’t be surprised if they aren’t as happy about it as you are. Just keep telling them that they are little painters making beautiful art to share with the world.
Once finished, the projects can be sprayed with a sealant spray (Krylon is a good brand) that will help to stop the paints from washing off. Also, keeping it away from water will help. You can use paint brushes and regular paint (not the Crayola, non-toxic kids paint) if your kids are a bit older as well for a more durable finish. I found that the Crayola paints and sealant spray worked just fine though.
What do you think of the paintings? Is this something you’ve tried before, or think you might try with your own kids?

4 Comments
Pingback:
JHWinter
Thank you so much for including my finger painting with kids project on your blog! 🙂
Jackie
What a great idea! I actually haven’t done finger painting yet with my boys, but I need to try it soon. James’ canvases came out great and I love the little easel! Thanks for inspiring me!
JHWinter
Of course! It is such a fun and easy project to do, and they turn out amazing. Why not give it a try?