
Harry Potter-Themed Baby Shower! Part Two
What would a Harry Potter-themed Baby Shower be without decorations?
After I had finished all of the prizes for the “Adopt A Magical Creature” table (See Part One for what Harry Potter creatures I made and where to get the DIY patterns/instructions), it was time to get to work on my portion of the decorations!
I had signed up to make potion bottles, howlers for the place settings, wax-dripped wine bottle centerpiece candles, plus I needed to gather any Harry Potter memorabilia that I had.
Potion Bottles

To make potion bottles, first I had to get some glass bottles and jars and remove their labels. I soaked all of the bottles in hot water in the bathtub, which loosens the glue on the labels, making them pretty easy to remove. Any leftover glue can be removed with a bit of Goo Gone.
Once they were dry and label-free, it was time to make them old and weathered looking. I mean, who has ever seen a brand new potion bottle? Not me.
I got some sand paper and scratched the outsides of the bottles, going over the surface in several different directions.

The jars and twisty shaped vases (IKEA) that I had were clear, so I went ahead and tinted them various colors. To do this, I followed the directions of blogger, Momtastic. Mine did come out with some streaks, but I rather liked that look for my potion bottles. After they had been tinted and cooled off, I repeated the scratching effect with sandpaper on the outside of the bottle.
I did a Google search for “Harry Potter free potion bottle labels” and found a sheet of labels that I liked the best over on the blog, Over the Big Moon. I cut them out and Mod Podged them onto the jars.
All that was left to do was fill them up with potion-y things!
For the bezoar I used a black rock on a bed of moss. That was one of my favorites! I used flour for the Skele-gro. I used food coloring and various other items to create the remaining potions.

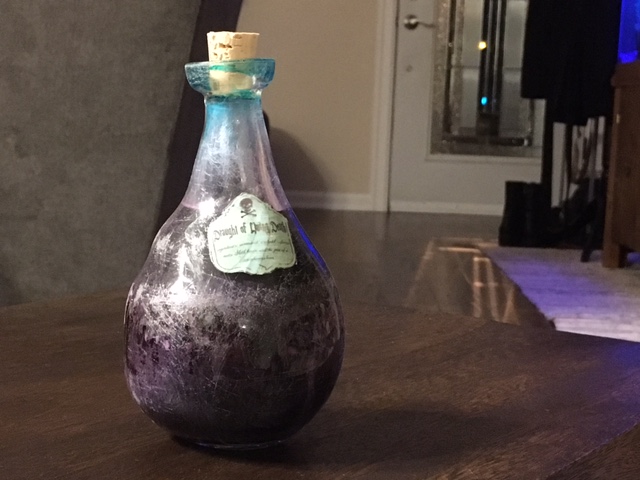
My Draught of Living Death is another favorite, with its contents being such a deep purpley-blue they almost look black.
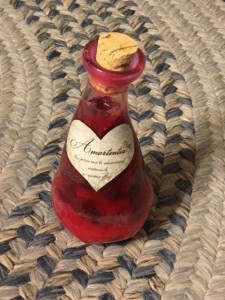
I even added a bit of red wine to the Amortentia for good measure.
At Michaels craft store, I purchased a couple bags of various-sized corks and fit them to the bottles, hot glueing them into place to make sure that the liquids inside never escaped. Voila!
Aged potion bottles complete!
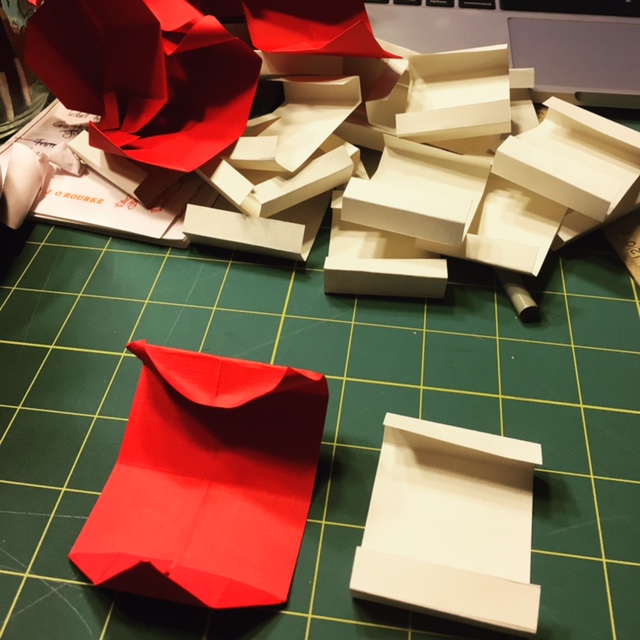
Howlers
When Molly Weasley sends her son, Ron, a howler at school, it was a sight to see…and hear! Her voice rang through the Great Hall as the envelope turned into a sort of letter with teeth and a forked tongue and yelled the message that she had written inside.
For the baby shower, my Aunt Mary (see her Facebook page for more of her amazing artistry/puppetry) and I thought it would be fun to have the messages inside these Howlers give suggestions for the new parents-to-be, only these would be of a magical variety.
In the picture above, the message reads: “Don’t worry if your child sees a Grim in his teacup, it just means a puppy is in your future.”
Down underneath each of the Howler’s tongues, was a number from one to three which later became the way we separated the group of 15 players into teams of three for a baby-related Pictionary game.
The pattern to make these origami-style Howlers I found on YouTube by NomiUniverse and was for miniature Howlers. I took her pattern and its size ratio and increased it evenly in order to make the Howlers the correct shape, only larger, so they would fit better on each place setting.
Wax-Dripped Wine Bottle Candle Centerpieces
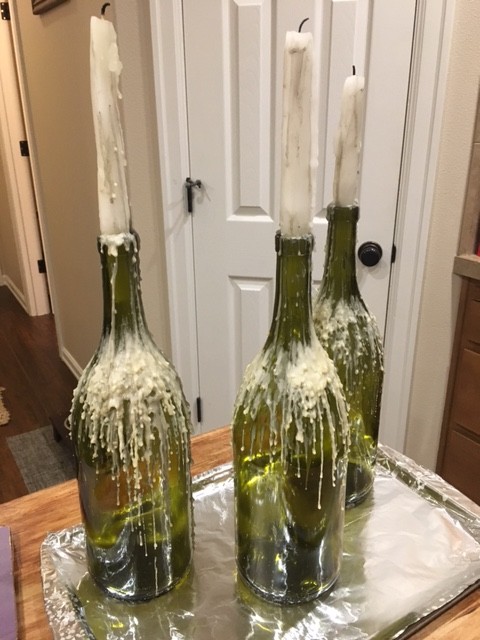
I found another Pinterest DIY craft where you take candles and you allow the wax to drip down all around the bottles to give them the aged look of a candle holder that’s been around for many years and burned through many candles.
I took three large Woodbridge Chardonnay bottles which are a beautiful tinted green color, soaked them in hot water to make the labels come off more easily, let them dry, then set myself up for dripping wax.
I took an old potato peeler and shaved the bottom of each candle so that the candle would sit inside the lip of the bottle by about an inch and a half for stability. Then I took separate candles, lit them, and tilted them downward so that the flame would more quickly melt the wax making it drip down as I slowly worked my way around the bottles, holding it over the locations where I wanted more wax to be.
I had all three of the bottle candles lit at the same time and took the extra candles in hand, using them to heat up the sides of the main candles, thus getting drips of wax to go down each of their bases as well.
The only issue I ran into, was some of the black from the wicks of the ones in hand stayed behind along the white of the main candles giving them a sort of sooty appearance. I chalked it up to making them look even more old and weathered.
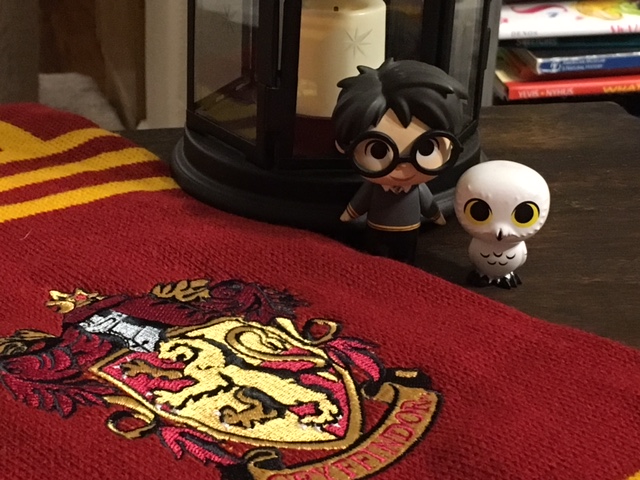
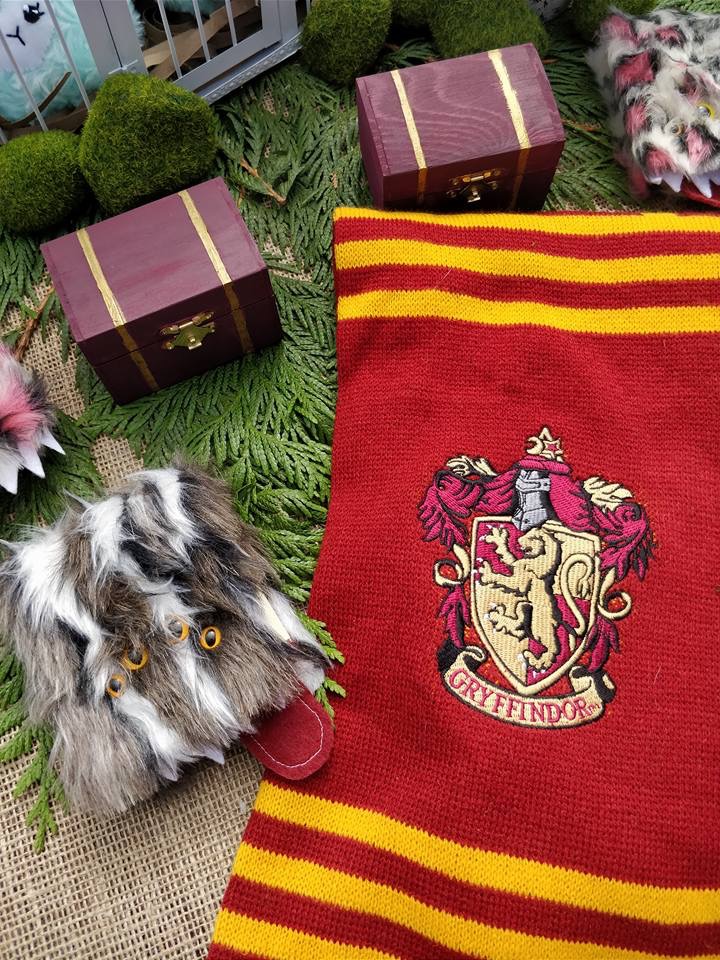
Harry Potter Memorabilia/Misc Decorations
I gathered up my IKEA lanterns, Harry Potter Gryffindor scarf from Universal Studios (Orlando, Florida), along with some Harry Potter grab bag characters and keychains, and I was off to the party!
Stay tuned, for the final part of this amazing Harry Potter Baby Shower, where I’ll show you how everything came together for the parents-to-be!


8 Comments
Jackie
Wow, you did such a good job making everything look so authentic! What fun decorations!
JHWinter
Thank you again, Jackie! The decorations were so much fun to create. I’m glad they turned out well and really added to the ambiance overall!
Tracy K.
Really enjoying this! The potions bottles look really cool! I chuckled about the wine bottles with wax dripping–years ago we used to have chianti bottles with wax drippings on them…several different colors of wax candles over time and the drips would get really thick, layered around the bottle. Funny…hadn’t thought about those in years!
JHWinter
Hey Tracy! Thank you for commenting! I’m glad those wax-dripped candles brought back happy memories for you. They really added to the ambiance of the table setting! I just posted Part Three for this three-part series where I take you to the event itself and show how everything came together in the end. I hope you stop by and take a look!
Karen Snell
Wow, I love all the things you have done, I think my favourite has to be the potion bottles though, they’re amazing……..Hope the shower goes well, I’m sure you’re all going to have a great time xxx
JHWinter
Thank you Karen! I’m so glad you liked them. My mother-in-law saw those and immediately put dibs on keeping them after the party. They were so much fun to create! I just posted the final part of this series, so stop by again and see how everything came together for the main event!
Jennifer
Love the potion bottles!
JHWinter
Very witchy! Am I right? I love them too 😀