CATGHAN CAL – Week #22 – Assembling & Finishing Our Catghan!
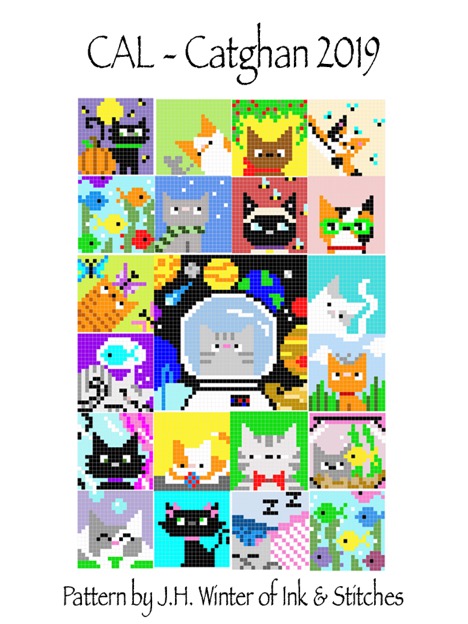
It’s time to get our crochet hooks out one last time and put together all 21 of the Catghan squares we’ve spent the past 5 1/2 months creating! I can’t wait to see all of your finished blankets! If you are just now joining us, you can start Week #1 PEEKAMEW here, or you can purchase the entire 50+ page pattern over on Etsy or Ravelry for $8.
I hope you’ve enjoyed working through this Catghan with me and are looking forward to the Dogghan which is currently being tested, and YouTube videos are being filmed. The Dogghan will be run the same as the Catghan with one square (or rectangle… hint, hint) released every week once it begins. I will be continuing to make graphgans after the Dogghan, and if you would like continued access to all of the C2C Graphgans I release in the future, please consider becoming my patron on Ink & Stitches Patreon.
For as little as $3 per month, you will have access to the patron-only feed where all of my future C2C Graphgan CALs will be hosted.
Now let’s get back to finishing up this Catghan, shall we?
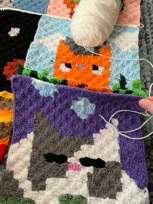
Border Around Each Square:
At this point you should make a single crochet (SC) border around each of the squares. This will make it much easier to connect the squares once we’ve reached that stage.
You have two choices here:
- You could use the background color of each square in order to create the border.
- You can try to match whatever colors are hitting the edge of the square doing color changes along the way.
Option #2 is the one that I chose to do because it gives a cleaner look, but I won’t lie… it will take you longer since you are adding color changes into the mix. That is why, I leave this entirely up to you.
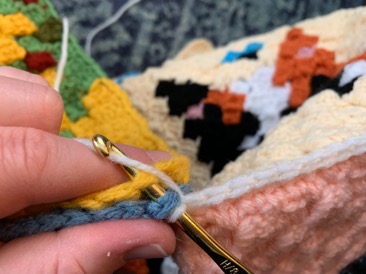
The way you will want to crochet the border is to start in the side of one of the squares, preferably where you will have a long chunk of one color. Grab your size H hook that you used to make each square and your yarn, and begin with a slipknot on your hook.
- (Sc in each pixel square side, Sc in space between pixels) around the straight edges. For the corner pixel squares, you want to do 2sc on one side of square and Sc in the other side of the square for a total of 3sc in the corner square.
Time to Block!
If you’ve never blocked your crocheted work before, it’s incredibly easy! Just time consuming.
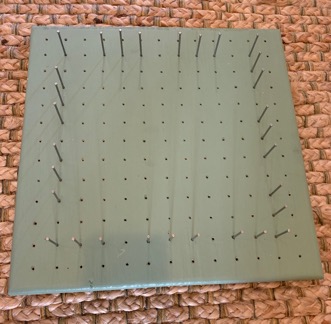
At this point, you should have the crocheted border around each square. I have a handy dandy block of wood with nail holes drilled in every inch or so. I’ve seen others use foam mats thick enough to hold pins.
- Wet the front and back of your square with a squirt bottle.
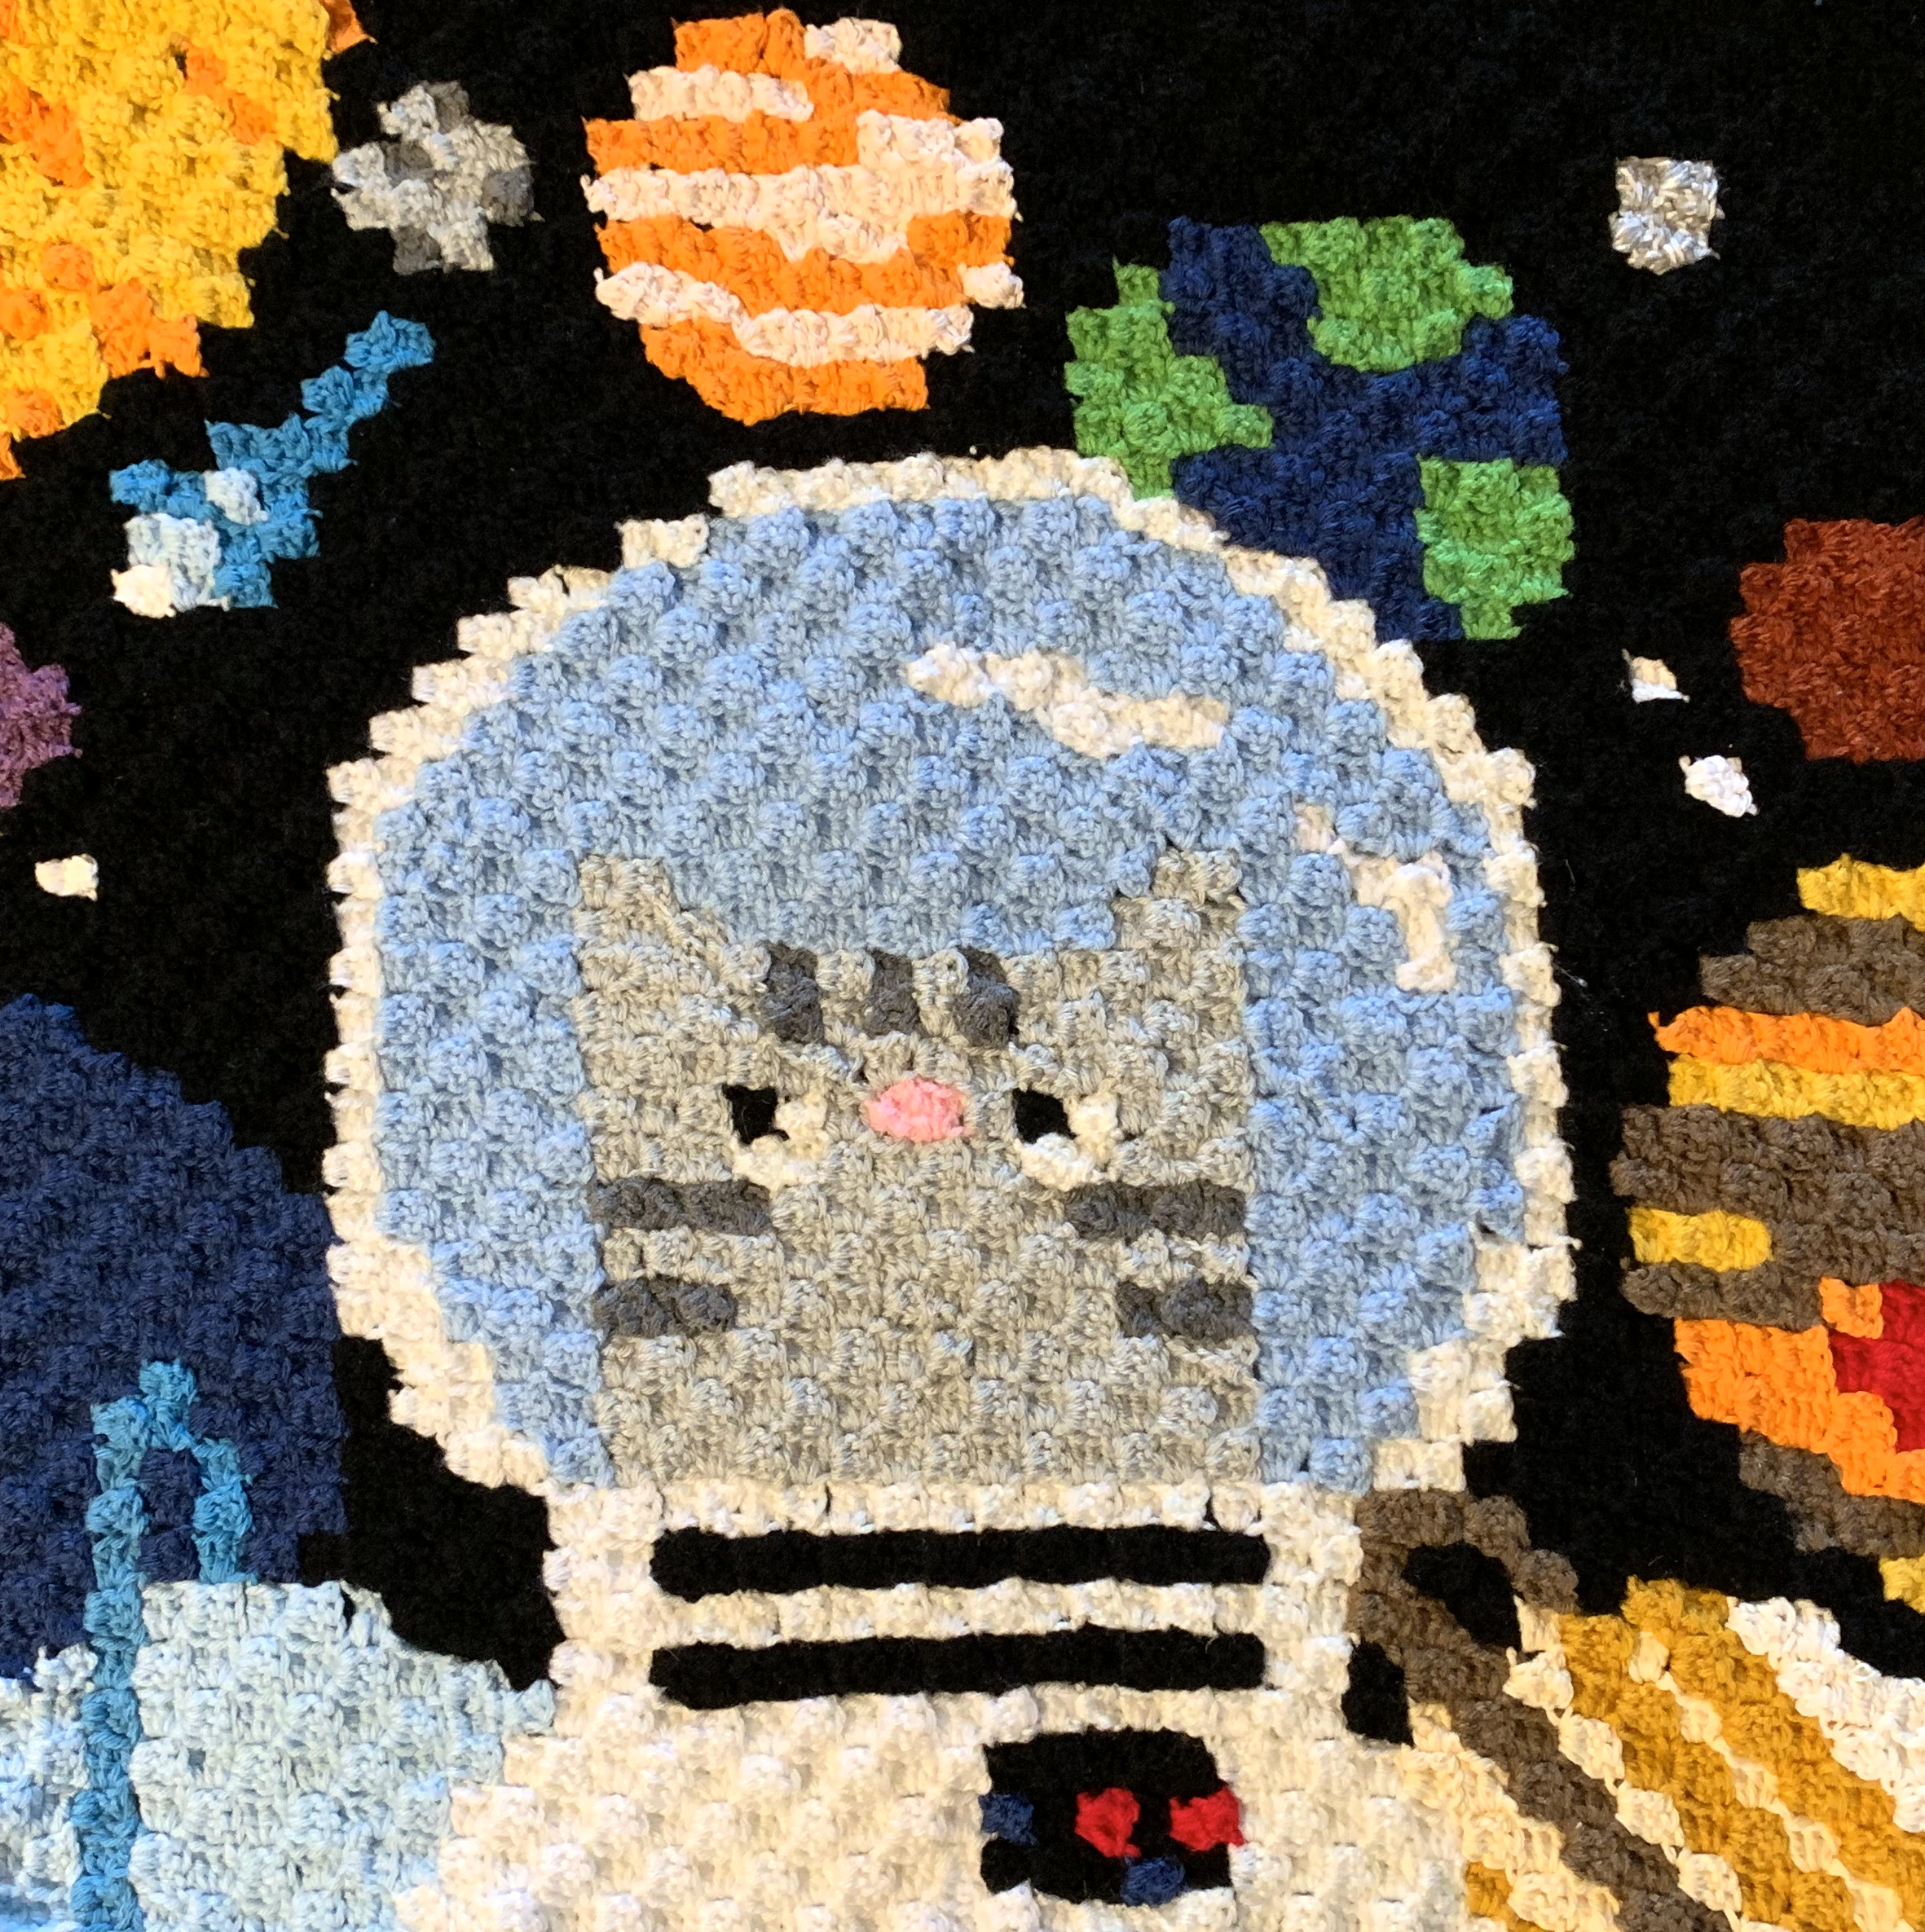
- Stretch square to be roughly the size of your biggest square (excluding the “Astrocat” square).
- Pin in place to a wooden or foam board (or anything that you have that could hold pins to pin your work in place). For my type of board, I just slipped the outer Sc edge onto the pins that were already pushed into the board. Use as many pins as you need so that your work stays straight edged.
- Allow to dry completely at stretched width.
- Repeat with all squares.
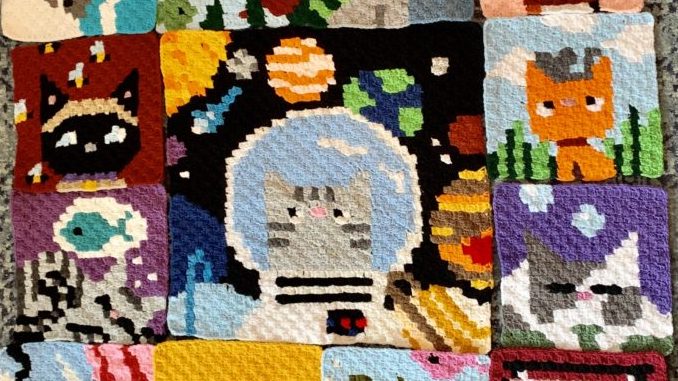
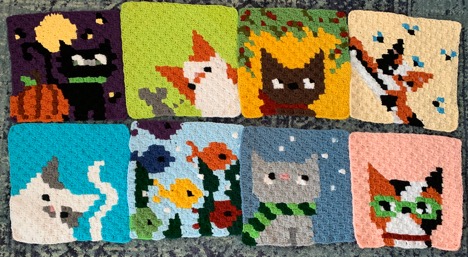
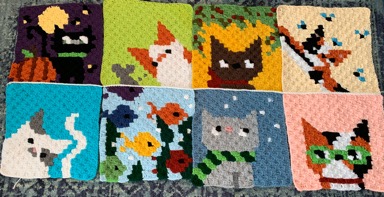
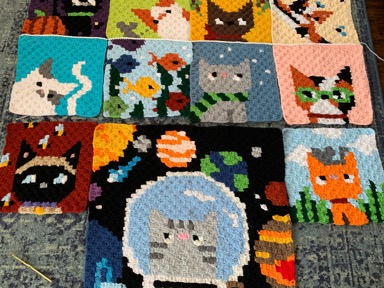
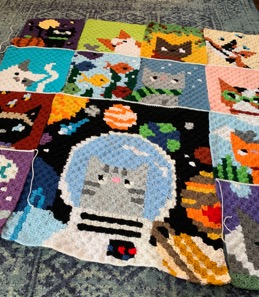
Lay out all your squares in the placement you’d like as shown below.
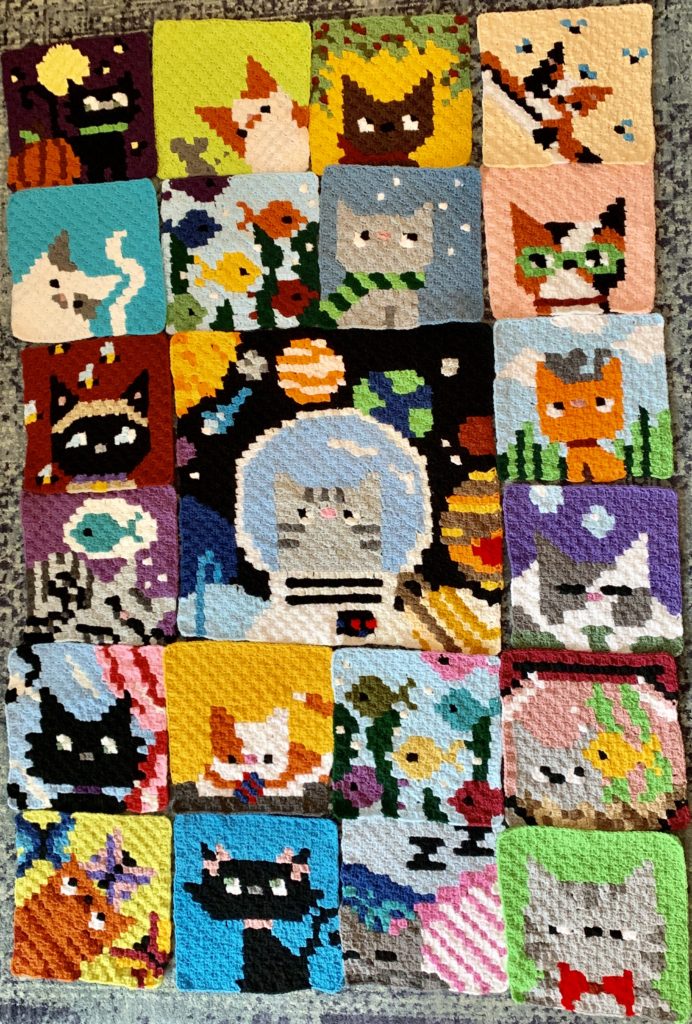
- Lay them out in the order that’d you feel looks the best with the colors you’ve chosen. I like to make sure I don’t have two squares with the same background color or two cats with the same coloring next to each other.
- Begin at the top of the blanket and work your way down, working the horizontal joins first. Work from right to left so that your stitches are facing the correct direction.
- Place a slipknot on your hook of the color yarn you’ve chosen as your joining color. I chose white but I’ve had other pattern testers go with black and other colors too for an equally brilliant blanket finish!
- Pinch together the two squares on the upper right hand side of your blanket. In my case, as you can see on the next page, that would be the “Flies” and “Glasses” squares.
5. Find the corner most edge stitches on either square and working through the right side of the bottom square and the wrong side through to the right side of the upper square, you will do a single crochet (sc) across to connect (see images and YouTube video below.)
6. Grab your next two squares and line them up.
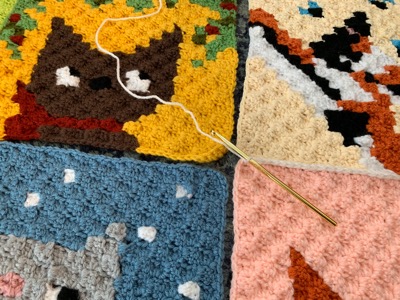
7. Continue on with the same strand of white yarn (or whichever color you chose to connect with) and grab the corner-most sc edges of the “Snow” and “Holly” squares as shown in the image below.
8. Sc across.
9. Continue with the remainder of the row until yours looks like the image below. Fasten off.
10. Get your next row lined up.
11. Slipknot on hook. Sc across starting with the “Glasses” and “Summer Mouse” squares and ending with “Sia-Bees” (yes I know mine is backwards 😉 ) and “PeekAMew”. When you get to the “Astrocat” square center, you will just connect the center of the “Astrocat” to the “Fish 1” square’s corner edge, and continue on as usual.
12. Add in the two side squares that fall next to the “Astrocat” square and you will only be working the sc across edging along the short squares, leaving the “Astrocat” untouched until the vertical connections (see below).
13. Continue on with the last two rows to finish out the horizontal joins.
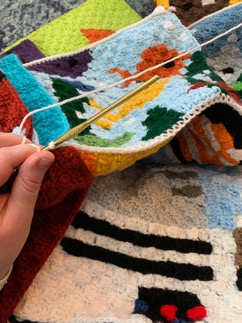
14. Flip the blanket sideways and do the same technique working from right to left side to complete the vertical joins. See image on the next page.
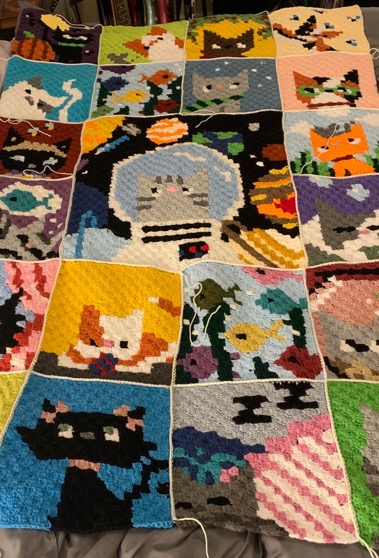
15. All the joins are now complete!!!
16. Tie in the loose ends. We will begin doing the border next, so make sure to grab your size K hook!
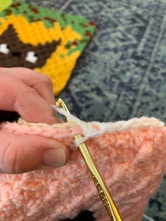
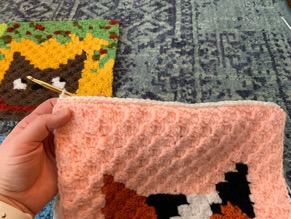
Make your Border!
For the border we will be using the Moss Stitch and a size K crochet hook (YouTube video below and written out directions following).
What I would suggest is to start on a random side edge (not a corner) with a slipknot on your size K hook. You want to up the hook size now or you will end up having the corners puckering in weird ways instead of laying flat.
You are going to want to have white yarn (or whatever color you connected the squares with), as well as two other colors. I used a pretty pink shade and the chartreuse green around my border.
- Sc to join (using the yarn you used to join the squares, in my case white).
- Work a Moss Stitch around: (Sc1, ch1, Sk1) [reads: single crochet 1, chain 1, skip 1] is the pattern you are going to be using along the straight edges.
- (Sc1, ch2, Sc1) in the corner stitch making sure both Sc1 stitches are in the corner space.
- Using the above pattern, crochet around using your first color.
- Do your final ch1, sk1 at the end of the row and slipstitch into the first sc of the row.
- Repeat steps 2-5 with the same color using the Moss Stitch for the second row. The trick with the Moss Stitch is that you want to work your SC stitches in the ch1 space of the prior row and then do your (ch1, sk1) skipping the SC stitch of the prior row. This is what gives it that alternating look.
- Fasten off.
- Grab your next color. In my case it was pink.
- Repeat steps 1-7 using the Moss Stitch with your second color so that you have two rows of this color.
- Grab your next color. In my case it was a yellow-green color.
- Repeat steps 1-7 using the Moss Stitch with your third color so that you have two rows of this color.
- Grab your first color one last time. In my case it was white.
- Repeat steps 1-5 using the Moss Stitch so you have just one row of this color.
- Fasten off.
- Tie in any loose ends.
YOUR CATGHAN IS NOW COMPLETE!
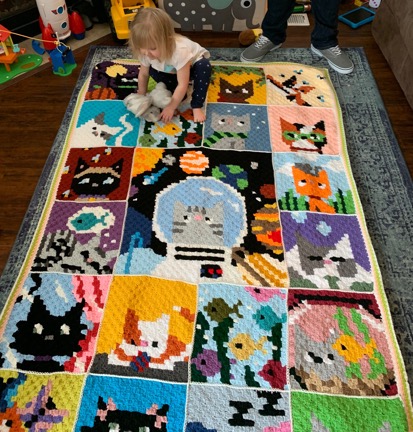
Congratulations!!!
I hope you enjoyed working through this Catghan with me. I know I’ve enjoyed seeing all your squares each week on social media, #CatghanCAL2019. I am testing the Dogghan now, and I certainly hope you sign up for my blog newsletter on the left hand side bar so that you don’t miss it! Keep in touch. Don’t be a stranger, and above all… Happy crocheting!
<3 Julianne

10 Comments
Wendy
Hello,
Just want to say a big thank you for sharing your amazing patterns. You are so very clever & I love your designs. You are very talented.
JHWinter
Thank you so much, Wendy! I needed those words of encouragement today. You’re the best!
Teresa
I thought this was a free pattern? I can’t seem to find it anywhere, what am I missing?
JHWinter
Hi Teresa! This is a free pattern. All you need to do is join the Ink & Stitches Newsletter (only sent about 2 times per month) and the patterns will all unlock for you. When you click on a post, you’ll see my illustration of Peter firefly holding an envelope. Under that is a spot to input your email. Once you confirm your email, you will have access. Just make sure to enable cookies when using the blog because that is how it will remember that you’ve already logged in. If ever asked again (using a different device for example), use the same email as when you signed up. It will only record the one time. Please, let me know if you have any more issues. 🙂
Verna Bradshaw
I don’t have a blocking board and wouldn’t get that much use out of it so I struggle with techniques to use for blocking. YOur catgahn is so precious!!! I need to take the time to make one….for my son!
JHWinter
You don’t have to have a blocking board. Some people just pin them down to even those foam letter mats that kids play on. They do sell those types of foam mats at Michaels and craft stores for a relatively low price. I’m sure your son will love the Catghan! Who wouldn’t? 🙂
Danielle
Any update on when the dog-ghan is ready? It would look super amazing next to my catghan!
JHWinter
Hi Danielle! I’m thinking it may be closer to early next year. We are still testing the pattern. It is complete though. 🙂 I’ll keep you posted though!
lisa
i am so ready for the dogghan
JHWinter
Hey Lisa! The dogghan will be released in the first quarter of next year. I promise 😀 I got a little waylaid with some exciting new book deals I’ve gotten and doing the illustrations for those. I’m getting to the dogghan too though intermittently, so not to worry 🙂