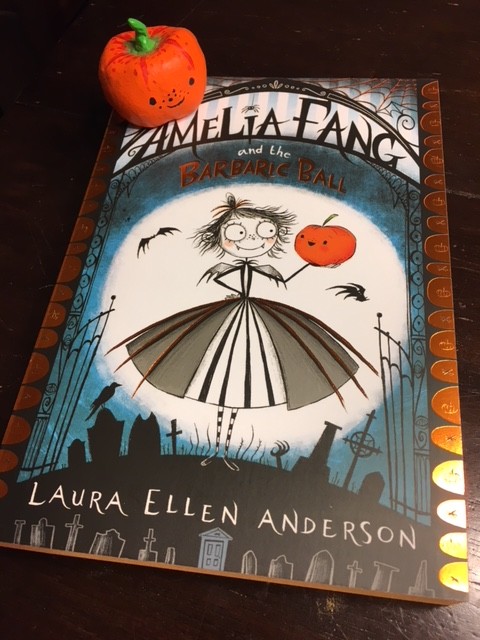
“Amelia Fang and the Barbaric Ball” : DIY Squashy Pumpkin Craft

I’ve been following author/illustrator Laura Ellen Anderson on Instagram for awhile now, and I was extremely excited to hear that her book, Amelia Fang and the Barbaric Ball, was coming out in the UK.
[I would later figure out that I could order her book here in the US from Amazon UK since it hasn’t been released here in the states yet.]
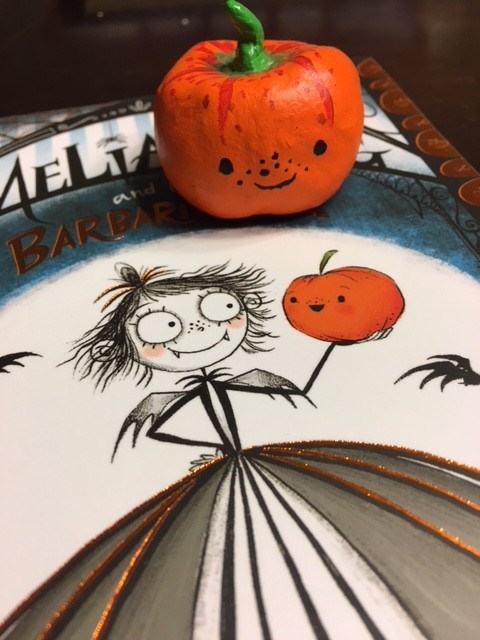
Laura had been doing a lot of pre-promoting of the book and that is when I noticed that she had taken her adorable pumpkin pet character, Squashy, and had made him out of clay, then painted him as a souvenir or perhaps a giveaway item. Either way, I had to have one!
A post shared by Laura Ellen Anderson (@laura_ellen_anderson) on
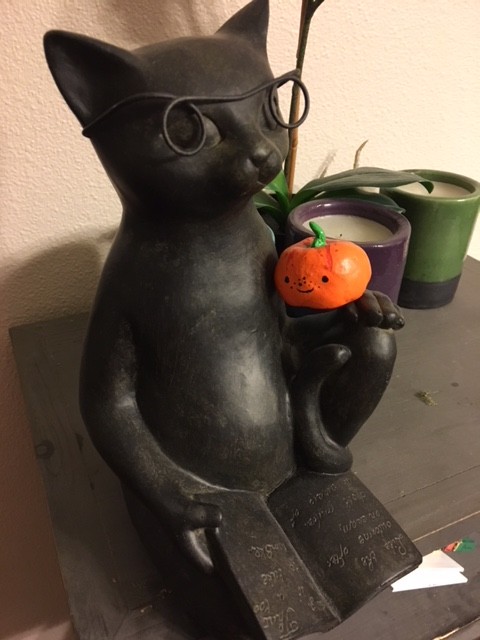
With Halloween coming up, they would make the perfect decoration! Afterward, Squashy would find a home up on my shelf above my writing/illustration work station that has all sorts of trinkets and collectible little things I’ve acquired throughout the years.
Since I was making one and would already have all the materials out, I decided, why not make five? It made sense. I could give away the others to my mom, sis-in-law, and mother-in-law, and still have two left for my husband and I.
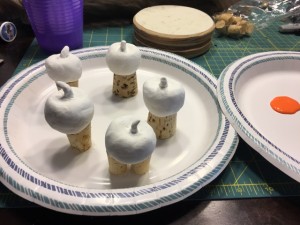
I got to crafting up the pumpkins out of air-dry clay. I rolled the clay into a ball and then squished my fingers into the top, rounding out the sides a bit. It was okay if they were a little bit bumpy because, no pumpkin is completely perfect. At least none that I’ve ever seen (we always just face the flat or funky sides toward the wall so no one ever has to know)!
Once I had the shape how I wanted it, I constructed little stems. I forgot to score (using a knife to create a crosshatching – # – pattern) the underside of the stem and the top part of the pumpkin to create a better seal. What I did do, however, was take a knife and blended down the sides of the stem onto the top of the pumpkin so that it was connected around the edge. All but one of the stems made it through the drying and painting process. One broke off and I used gorilla glue to put it back together again (hot glue didn’t work because of the porous surface of the clay).
It took a lot longer than the 24 hours that the clay’s packaging instructed for the clay to completely dry because of the thickness of the pumpkin. I would say I left them sitting there to dry for at least 48-72 hours.
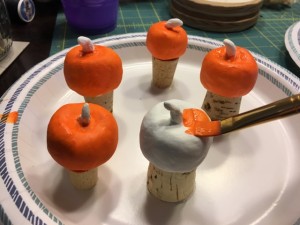
Once they were dry, I got out my craft acrylic paints and got to work. I created little bases on a paper plate by hot gluing corks to the paper and that way I could more easily move around the little pumpkins to get each of the sides. After the orange was dry, I did the green stems by layering a few different shades of green. I made a dark red-orange to create the upper line segments on the pumpkin.
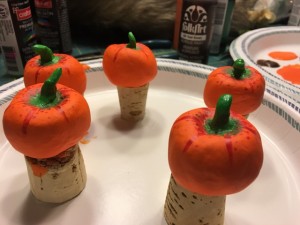
Finally, I took black paint and painted on Squashy’s face. They each looked a little bit different, but even in the book his expressions change a bit from page-to-page. He has his signature freckles though on all of them!
On one of my trips to Joann Fabrics craft store, I noticed a fairy-garden table and chairs set for Halloween and decided they would be perfect for some of the Squashy pumpkins to sit on. I dressed them up by gluing on fake moss and stones and voila!
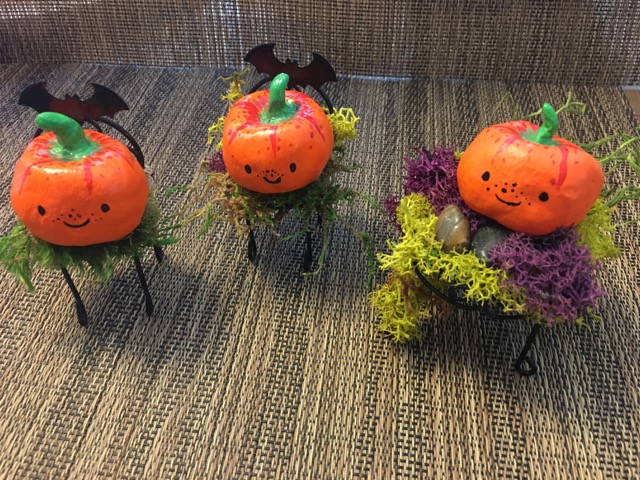
I was extremely happy with how they turned out. I even shared pictures of them with Laura and she was excited to hear that I’d taken her craft project and made some Squashy pumpkin pets at home myself.
So, here are the little guys in all their glory, and also atop my copy of Amelia Fang and the Barbaric Ball.

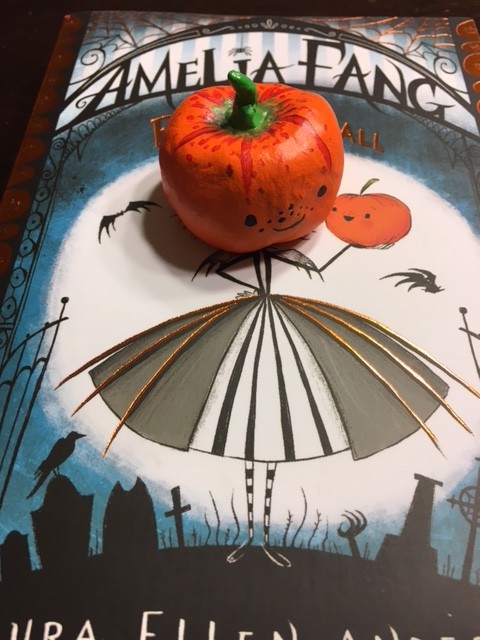
Is this last one a bit too Sleepy Hollow? I hope you all have a wonderful Halloween tomorrow! I have a few projects I made for Halloween as decorations for around the house that I’d still like to share with you guys. You can always flag them as projects for next year! Pinterest is amazing for getting great DIY projects to do for the home around the holidays.
Happy Trick-or-Treating!!!
4 Comments
Jackie
These came out great! What a fun Halloween decoration-and you can reuse them every year! I’ll have to try something like this next year.
JHWinter
That would be great! They were so much fun to make and came out so gosh darn cute! 😀
Jennifer Shelby
cute!
JHWinter
Thank you so much, Jenn!